Installing Spectrum Spatial Analyst through Wizard
To install Spectrum Spatial Analyst, follow the steps given below:
-
Double-click the file
setup.exe.The Spectrum Spatial Analyst- InstallShield Wizard appears.
-
Select the language for the installation from the drop-down list and click
Ok.
The Spectrum Spatial Analyst- InstallShield Wizard appears walks you through the installation process.
Figure: Spectrum Spatial Analyst- InstallShield Wizard 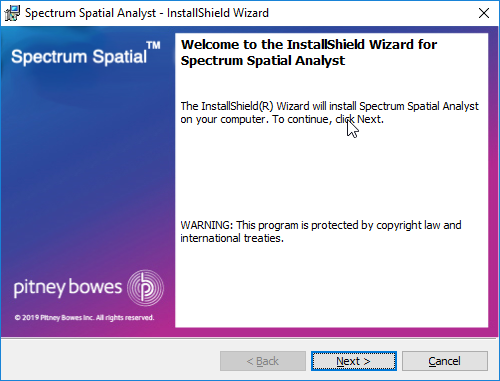
-
Click Next.
The License Agreement dialog box appears.
Figure: Spectrum Spatial Analyst - License Agreement 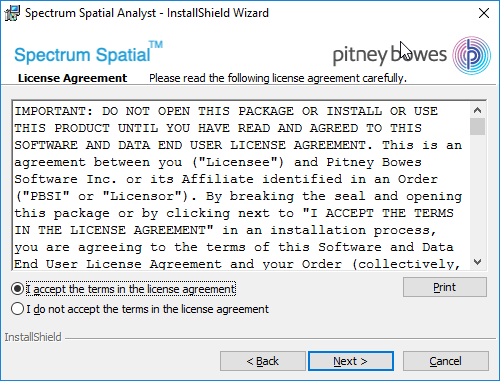
-
Please read the License Agreement carefully and click
Next
The System Configuration - JAVA 8 JDK Folder dialog box appears.
Figure: System Configuration - JAVA 8 JDK Folder 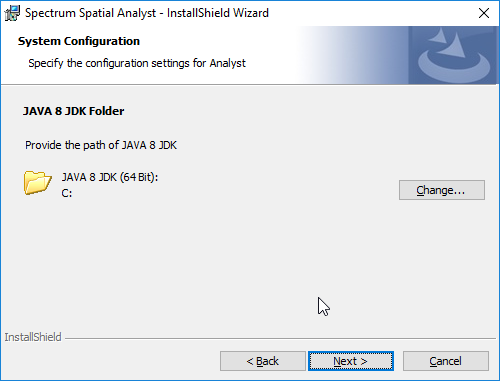
-
Click Change button to select a different directory or
click Next to install to this default folder.
The Destination Folder dialog box appears.
Figure: Spectrum Spatial Analyst - Destination Folder 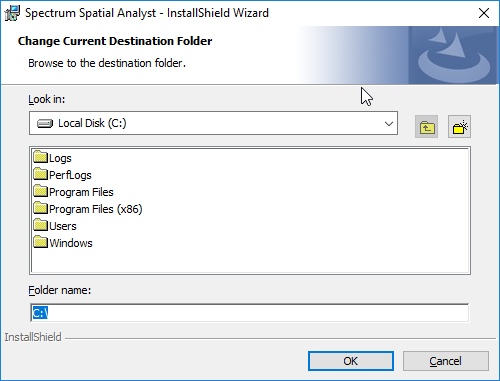
-
Select a directory and click OK button to install or
click Next to install to this default folder.
The Destination Folder dialog box appears to install the Spectrum Spatial Analyst application.
Figure: Spectrum Spatial Analyst - Destination Folder 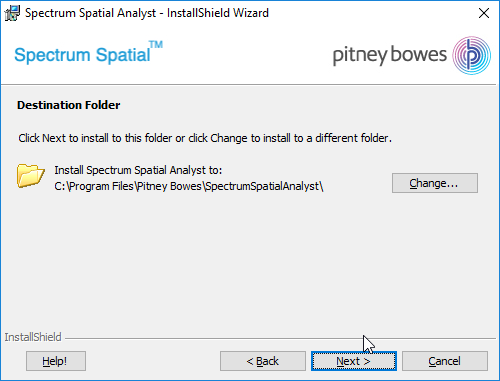
-
Click Change button to select a different directory or
click Next to install to this default folder.
The Spectrum Spatial Analyst Access Mode dialog box appears.
Figure: Spectrum Spatial Analyst Access Mode 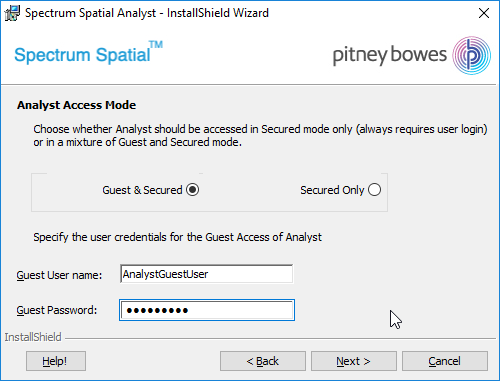
-
Click Next.
The Spectrum Spatial Server Information dialog box appears.
Figure: Spectrum Spatial Server Information 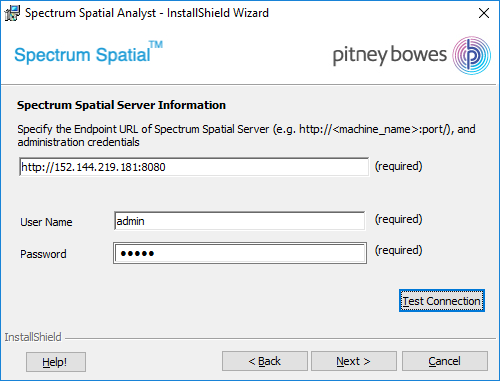 Note: The URL, User name and Password displayed in the above image is for reference purpose only. Please contact your administrator for login credentials.
To migrate existing configurations from Spectrum Spatial Analyst 2018.2, you must have admin credentials. For more information, please see Migration from Spectrum Spatial Anayst 2018.2.
-
Click Next.
The System Configuration dialog box appears.
Figure: System Configuration 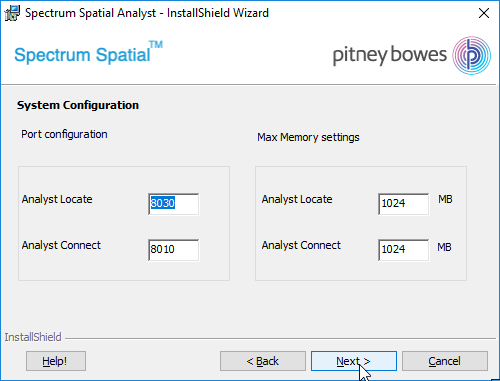
-
Click Next.
The Ready to Install the Spectrum Spatial Analyst dialog box appears.
Figure: Ready to Install the Spectrum Spatial Analyst 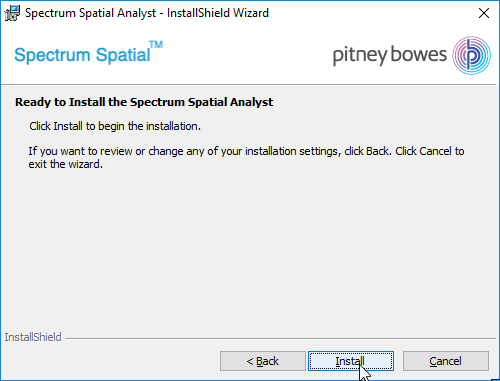
-
Click Install to begin the installation.
The Installing Spectrum Spatial Analyst dialog box appears.
Figure: Installing Spectrum Spatial Analyst 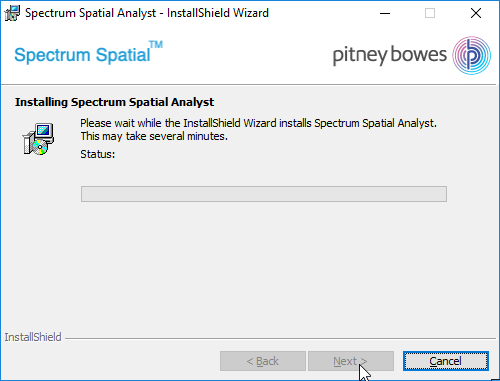
The installer installs Tomcat (Tomcat 9.x) for Analyst and Index search. Both will be installed on the same machine. The ports can be configured during installation process (Step 13 above). The tomcats will be deployed as Windows services in Windows which can be started and stopped in Administrative Tools – Services.
-
Click Finish to exit the Spectrum Spatial
Analyst - InstallShield Wizard.
Figure: Installation Completed 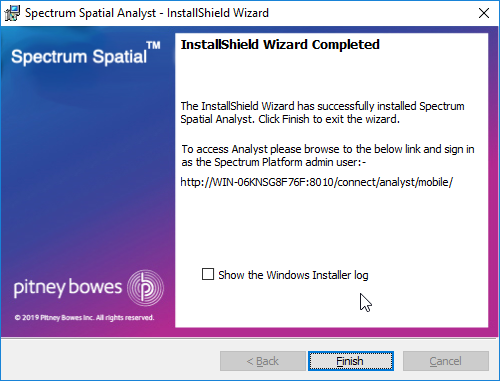
The log file created during installation is placed here:
C:\Users\{windows-user-name}\AppData\Local\Temp\STRATUS_MSI_SetupLog.logCongratulations! The Spectrum Spatial Analyst is installed in your machine and is ready to use.