Applies to:
- Winshuttle Foundation
Changing Workflow Settings with SV Configurator
If you need to change system settings for Winshuttle Workflow you can use the SV Configurator tool to do so from the command line.
Important Notes:
|
On this page
SV Configurator allows you to add, update, and remove system settings in Winshuttle Workflow. The scope of the settings in SV Configurator refers to where they are applied relative to a SharePoint object.
There are three types of settings:
- Global—options that apply at the global level (read from the sharevis.config file)
- Site—options that apply at the site level
- List—options that apply at the list level
For a more detailed list of settings and their descriptions, click the Help button in the SV Configurator window.
Editing Configuration Settings
Back to top- On the SharePoint/Winshuttle Workflow computer, navigate to the Workflow\Bin folder.
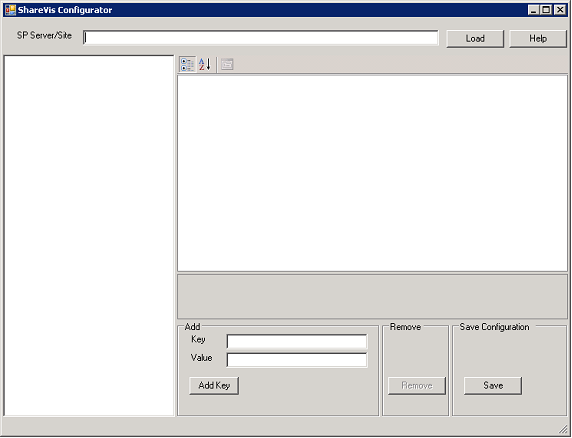
- Double-click SVConfigurator.exe to open the SV Configurator.

- In the SP Server/Site field, type the URL of the SharePoint site you want to work with.
- Click Load.
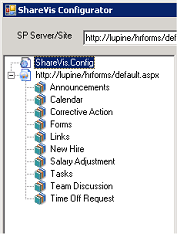
- Navigate to the item you want to work with.

- Select a listing from the appSettings list in the right-side pane and make your edits in the field (see the table below), and then click Save.
|
Click |
To apply settings to |
|
|
The sharevis.config file (global) |
|
|
The selected SharePoint site |
|
|
The selected SharePoint list |
Important notes
- Configuration settings adhere to the parent/child inheritance structure in your SharePoint environment.
- For a farm setup, add the SVConfigurator settings in all Workflow and Designer installations on all farm servers individually.
- You can click Help in SV Configurator to view a list of available key/value options.
Adding Configuration Settings
Back to topTo add keys and values, do the following:
- Double-click SVConfigurator.exe.
- In the SP Server/Site field, type the URL of the SharePoint site you want to work with.
- Click Load.
- Expand the configuration tree and select one of the following:
- Click
 to view keys and values that apply globally.
 - Click
 to view keys and values that apply to a site.
 - Click
 to view keys and values that apply to a list.
- Click
- In the Key field of the Add area, enter a key. To view a list of currently available key/value options, click the Help button in SVConfigurator.
- In the Value field of the Add area, enter a value.
- Click Add Key.
- The new setting is listed in the appSettings list.
- Click Save.
