Work Item Types
When a record, multiple records, or a saved set are sent to a workflow, the EnterWorks 2020 UI will display a Workflow Submission screen with multiple input fields, such as the following screen.
|
Workflow Submission Screen |
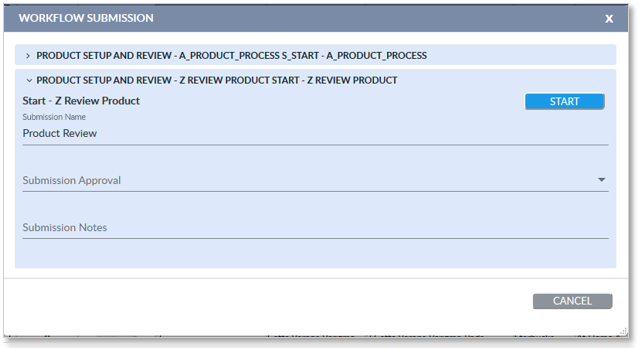
The Workflow Submission screen is rendered based on the specified EPX Work Item Type. A Work Item type allows admins to specify how input should be specified by a user and what input should be gathered from the user.
Creating a Work Item Type
Work Item Types are created in EPX.
- Log into EPX as an admin.
- From the Navigator, go to Process Modeling—>Work Item Types.
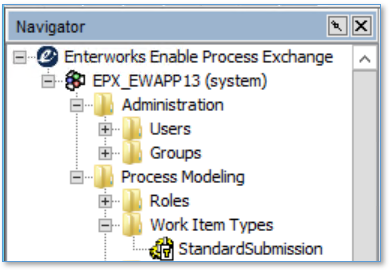
- Right click on the directory Work Item Types.
- Click New...
- From the General tab, find the Name
input field and enter “defaultSubmission.”
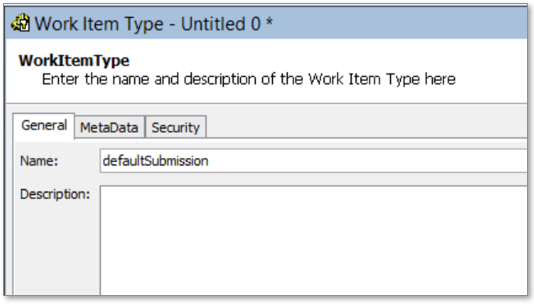
- Click on the MetaData tab.
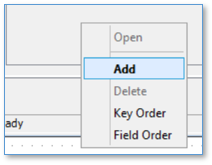
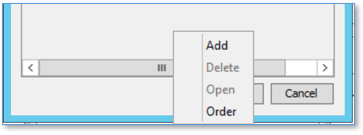
- Right click inside the table.
- Select Add.
- At this point there are many different combinations of html input fields you can create. For this example, we are going to create a dropdown list.
-
Enter “workflowApproval” in the Name field.

-
Select String for the Data Type.

-
Enter “Submission Type” in the Label field. This will
be the label for EnterWorks Workflow Submission screen.

- Select List for the HTML Input Type.

-
Enter “approval” in the Value field. This will be the
default value for the dropdown list.

-
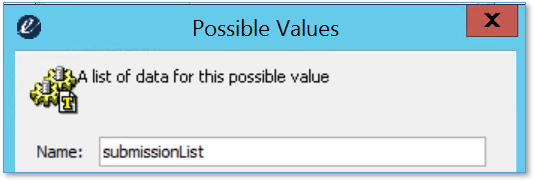
Right click in the Possible Values table.

-
Select Add…
-
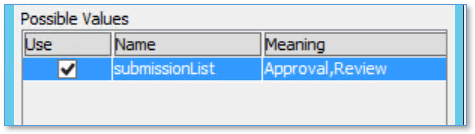
Enter “submissionList” in the Name field.
-
Right click in the table below the Name field.
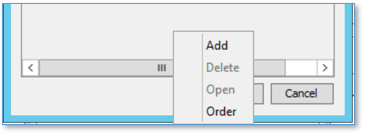
- Select Add.
- Enter “approval” in the Code field.
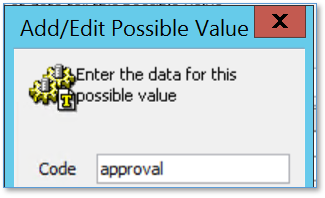
- Enter “Approval” in the Meaning field.
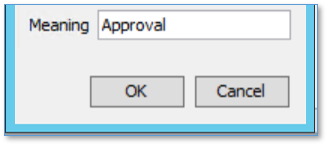
- Click OK.
- Right click in the Possible Values table again.
-
Select Add.
-
Enter “review” in the Code field.

-
Enter “Review” in the Meaning field.
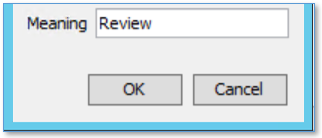
- Click OK to save the new submission value.
- Click OK again to return to the Define the Work Item Type’s metadata window.
-
Within the Possible Values table under the Use column, click on the checkbox for the newly created
possible value.
- Click OK to return to the WorkItemType window.
- Click Apply.
- Click OK.

Copyright 2007, 2023 Precisely