Syndication Templates
The Syndication Template function is used to develop templates that can be used once or multiple times to export data from one or more EnterWorks repositories for syndication. Use a syndication template instead of an export template if you need to do any data transformations before exporting it or if you need to validate the data before exporting it (using validation levels or required field filters). It is recommended that the system administrator assists users in managing syndication templates.
Templates may be used in both scheduled and manually triggered activities. For additional information regarding the use of syndication templates during scheduled activities, see Job Scheduling. For additional information regarding the use of syndication templates during manually triggered activities, see the EnterWorks 10 User Guide.
View Syndication Templates in EnterWorks 2020 UI
The list of available syndication templates for a repository can be viewed from the Export/Exchange/Publication/Syndication Templates pane which appears at the bottom of the repository’s Repository Dashboard’s list of configuration panes (see Repository Dashboard).
|
Export/Exchange/Publication/Syndication Templates Pane |

View Syndication Templates in Enable Classic UI
To view existing Syndication Templates in the Enable Classic UI:
- Log in to the Enable Classic UI.
- From the Feature Bar, open the Import & Export tab,
and select Syndication Templates.

Open Syndication Templates
-
A list of the existing Syndication Template folders is displayed across
the center screen. Click a folder to open it and display its existing
Syndication Templates.
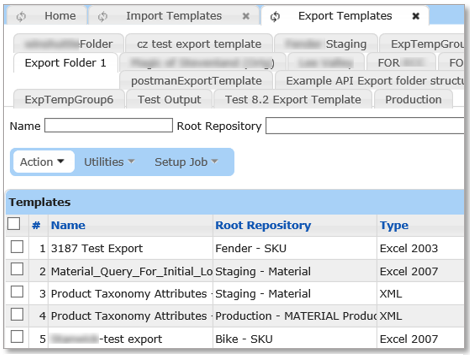
Open Folders to Show Export Templates
Manage Syndication Templates
Syndication templates are viewed, defined, and edited in the Enable Classic UI, in the same manner in which Export templates are created, with the exception that the only available output formats are CSV, XLS, and XLSX.
To create/edit a syndication template using the Enable Classic UI:
- Log onto the Enable Classic UI.
-
Open the Syndication Templates list, (see
View Syndication Templates in Enable Classic UI).
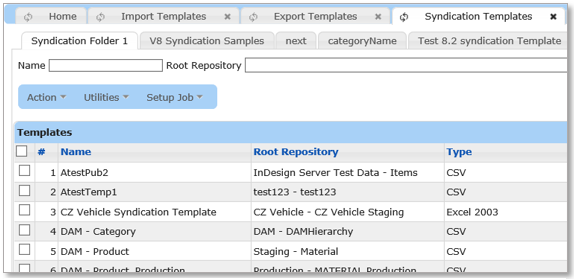
List of Syndication Templates
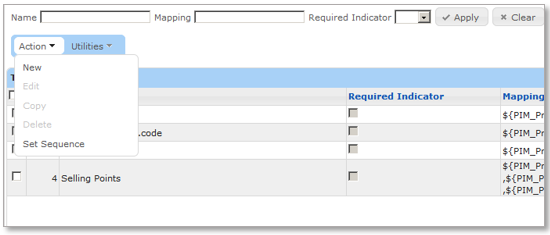
- The Action drop-down menu:
- New - New templates can be created by selecting the New option from the Action drop-down menu.
- Edit - Existing templates can be modified by selecting the Edit option from the Action drop-down menu.
- Edit Mappings - Existing or new field mappings can be defined by selecting the Edit Mappings option from the Action drop-down menu.
- Delete - Existing templates can be removed by selecting the Delete option from the Action drop-down menu.
- The Utilities drop-down menu:
- Select the New option under the Action
drop-down list.

- The Syndication Template Editor screen is then shown.

- Name: (Required; Multi-language) A name for the Syndication Template.
- Description: (Optional; Multi-language) A description for the template.
- Select the Output Type from the drop-down list. The
options are:
- Excel 2003 (xls)
- Excel 2007 (xls)
- Excel 2010 (xlsx)
- Comma Separated Values (csv)
- Select the Validation Level for the export (if applicable).
- Select the Root Repository from the drop-down list.
-
Click the Available Linked Relationships button to
select any additional linked repositories that have attributes needed in
the syndication export file. To select any child repository, the parent
must be selected.

-
Click the Edit Details button to optionally identify
that all or some of the dynamic attributes should be appended to end of
export file as shown below.

-
Click the Save button (above) to go back to the Syndication Template Editor links:

-
Click Return to go back to the Syndication Template Editor:

-
Optionally, click the Edit button next to the Split File Control label to create
multiple files based on taxonomy (dynamic) attributes.

- Click the Save button to go back to the Syndication Template Editor.

- Use the Advanced Call Out Function and Advanced Call Out Class Path for export file transformations (opt.).
- Click the Save button to go back to the Syndication Template list.
-
Select the Syndication Template that was just created.

-
Select the Edit Mappings option from the Action drop-down list to define (or modify) the export
file and identify where the data for the export is coming from in Enable.

- Select the New option from the Action drop-down list to define a new column mapping.
- The Create New Syndication Template Mapping screen is
shown.

- Enter the export column name in the Display name field.
- Click the Required Indicator checkbox, if applicable.
- Select the Repository that contains the field to export.
-
Select the Catalog Node that contains dynamic
attributes, if applicable. Click the magnifying glass to show a list of
nodes:

- The list can be filtered by using the Filter: field
below the attribute list.

- Select the source attribute (field) that will populate the target column. The field will be displayed in the right mapping box.
- See the Enable Advanced Mapping Guide for detailed
instructions on using the Velocity Template Language (VTL) for
transformation of data from Enable, if required.
NOTE: To concatenate fields together for export, choose multiple fields to include in the Mapping window, then add any separation characters, if required. The fields can be reordered within the window.
-
Click the Preview tab to see what the mapping will
look like, use the fields on the bottom to enter test data into the fields.

- Click the Builder tab and click the Save button to go back to the Syndication Template Editor screen.

- One or more existing mapping items can be edited, copied or deleted by selecting one or more mapping line items and selecting the desired action from the Action drop-down menu.
- To reorder the fields in the export template, select the Set Sequence option from the Action
drop-down list.

- Drag and drop the fields to set the order of the fields in the export file.
- Click the Ok button.
NOTE : The SyndicationTemplate list displayed above can be filtered by using the Name,RootRepository, and/or Type fields with the Apply button.
This option provides the ability to Import an existing template or to Export an existing template, if required. These options are used to move import or export templates from one environment to another, such as, exporting a template from the Development environment and importing it into the QA environment.
Delete a Syndication Template
To delete a syndication template, follow the directions for deleting an export template, (see Delete an Export Template).

Copyright 2007, 2023 Precisely