Validating Address Components

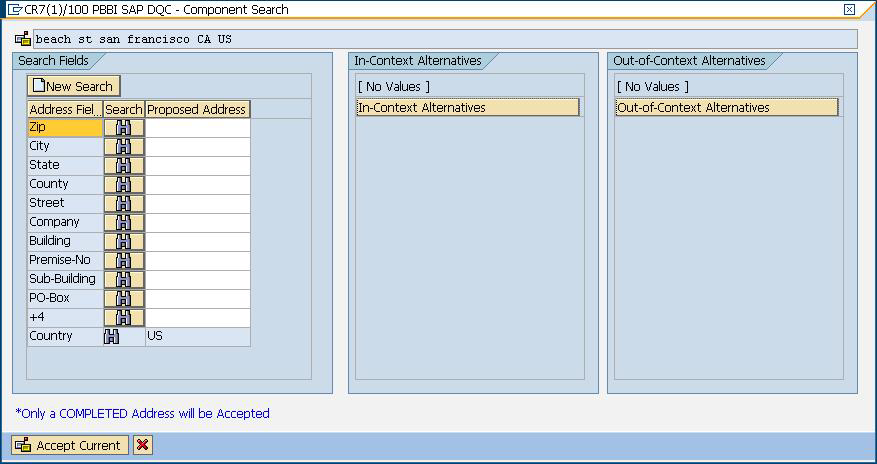
The Advanced Search is helpful when there is uncertainty in the address entered. This feature eases the difficulty of entering and searching even the most complex addresses.

The Component Tab contains Proposed and Current columns. Initially, the 'Proposed' column does not contain any value. This is because the values are selected per field.

Note: This option will be available only if the Simple/Advanced Search option is enabled, and the address entered does not produce a unique result.
  1. Enter the address data in SAP.
  2. The address goes through the validation process. The Advanced Search Tab screen is displayed with blank fields.
  3. To begin a search, click Advanced button. The Advanced Search screen is displayed. On this screen, the entered address is not displayed on the Proposed Address column. The address to be searched has to be typed in the fields.
  4. Results are only displayed on the Out-Of-Context Alternatives box when entries are found out of the scope of the search criteria.
  5. To begin a search, enter the address to be searched and click on the binoculars button beside the field for which you want to search. Searches are done on a field-by-field basis only. The results are displayed either on the In-Context Alternatives, or the Out-Of-Context Alternatives.


  6. To commit a field, double-click an entry on the In-Context Alternatives box. Once a field is committed, the system will provide you with a list of possible entries based on what was committed. This list is based on a search hierarchy. The hierarchy is as follows:
    • Zip
    • City
    • State
    • Street
    • Company
    • Building
    • Premise-No
    • Sub-Building
    • PO-Box
    Note: When a search is made, and there are no results matching the search criteria, the next field in the hierarchy will be returned with its possible results.
  7. Continue searching until all fields are complete enough for the address to be considered a complete and valid address.


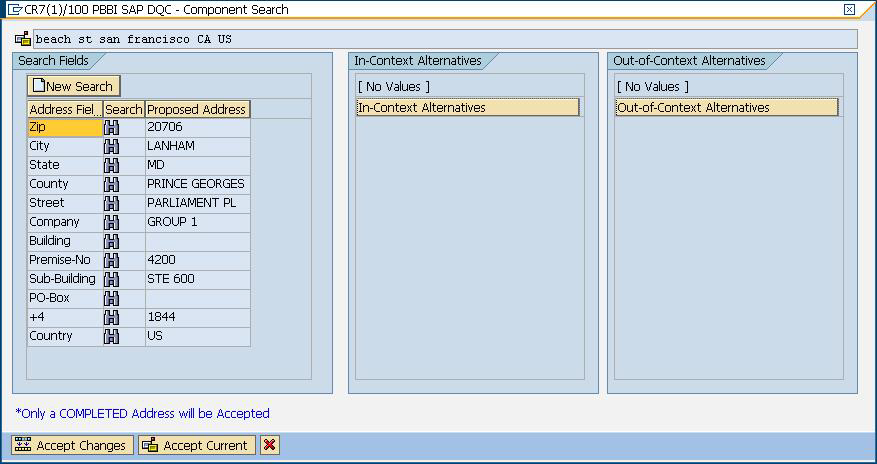
    Note: Only a Completed Address will be accepted by the system.
  8. To make another search, just click the New Search button in the advanced search screen.


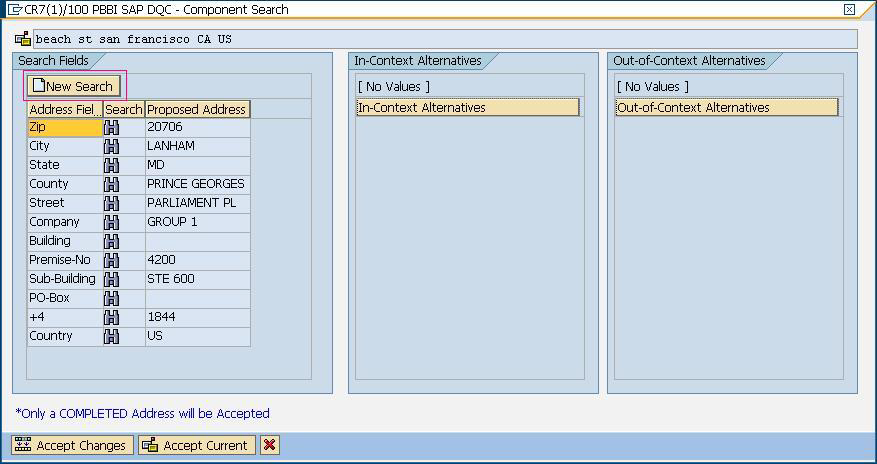
    Note: You can choose a new search provided you have not selected the Accept Changes button. Once the Accept Changes button has been selected the committed address will be reflected in the create data screen.
  9. Click the Accept Changes button to accept the validated (completed) address. Click the Accept Current button to accept the address you entered. Or click the red "X" to cancel the validation.