Perform this procedure to select a property that is associated with that entity type to populate the label.
This feature enables you to change the label for entity types by modifying their
metadata. The default label is _stp_label, which is generated when you create the model
and is based on the input field you associated with the entity type when you configured
the model. However, there may be situations where you want to change the labels that are
appearing in your model. For example, you could have a model of customer data containing
an entity type of "Customer" that is populated by the "CustomerID" input field and has
tied to it a property called "Name". With that configuration, all entities of the
"Customer" type would show the customer's numeric ID as the label. You could change the
label property to "Name", which would result in all Customer entity labels showing
customer names instead of numeric IDs.
With Relationship Analysis Client open, click the Open button.
Select a model from the list by clicking it.
Click the Model Detail tab.
Click Open Metadata.
Select the entity type you want to modify.
Click the Styling tab.
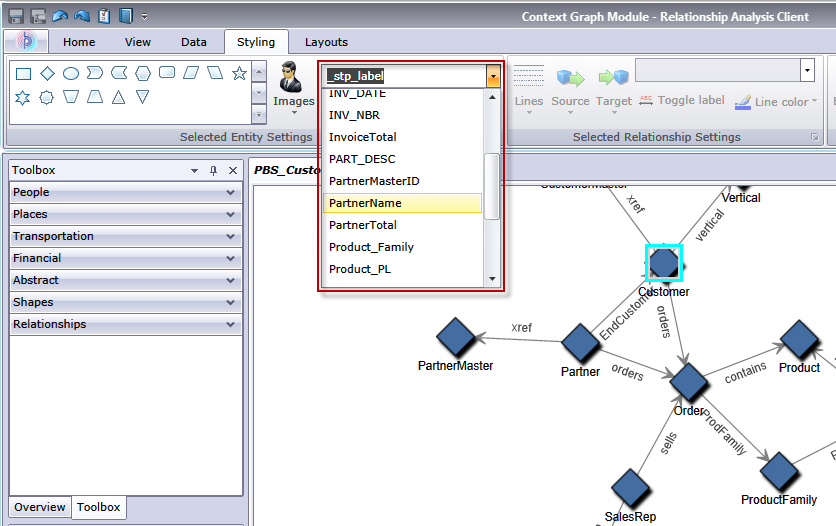
From the Label property drop-down, shown in the red box below, select the property whose data you want to populate the label for this entity type.
Save the model.
If you are using the Context Graph Browser, refresh the screen and you will see the updated labels in the model's metadata.