Splitting Entities
This feature enables you to split one entity into two entities. If your model contains entities that perform multiple functions within that model, you could create one entity for one function, and a second entity for the other function. Using the organization chart example from Write to Model, you might want to create two entities out of the entity for Jim Waterman, who has employee ID 3. Jim is a manager to Marcus David (employee ID 12), but he is also an employee of Tom Smith (employee ID 1). Therefore, in that model, you might want a manager entity and an employee entity.
In addition to splitting one entity into two, you can also determine which properties and relationships are tied to one or both entities.
A completed split looks like this:
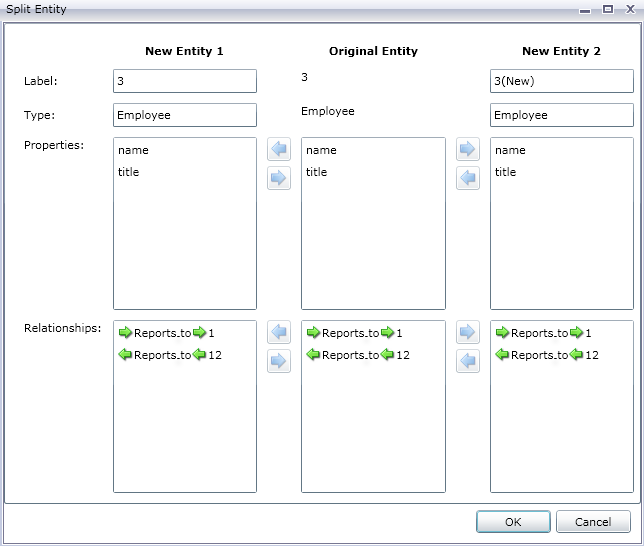
This updates the model with the two new entities. You can see that New Entity 1 is shown as an employee to Tom Smith, and New Entity 2 is shown as a manager to Marcus David.
