
Installing a Cluster
Installing a cluster involves setting up one Spectrum Technology Platform server at a time.
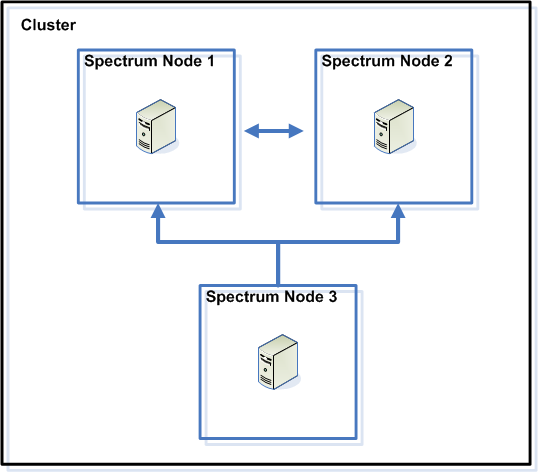
It is recommend to have at least 3 nodes in a cluster. The smallest fault tolerant cluster is a cluster that can tolerate one lost server. This requires a minimum of three Core instances. Both a three-server cluster and a four-server cluster can tolerate a maximum of one lost server. It is recommended in order to tolerate two failed Core instances, you need to deploy a cluster of five Core instances.
Before you begin, install an appropriate load balancer. Follow the procedures described in the load balancer documentation when installing.
Note: The load balancer must be configured to allow encoded forward slashes. If the load balancer does not allow encoded forward slashes you may get HTTP 404 errors while using the cluster. For example, if you are using an Apache load balancer, you can configure it to allow encoded forward slashes by opening the httpd.conf file and specifying this property:
AllowEncodedSlashes On. For other types of load balancers, refer to the load balancer documentation.Once you have your load balancer installed, follow these steps to install nodes in the cluster.
-
Install Spectrum Technology Platform on each node in the cluster.
For instructions, see Installing a New Server.For instructions, see Installing a New Server.Important: The installer will provide the option to auto start Spectrum Technology Platform server. By default this option is not selected. Do not enable this option if installing a clustered environment.Important: Do not start the server when the installation completes. You must complete the following steps before starting the server.
-
On each node, configure settings in the spectrum-container.properties file.
-
On each node, configure settings for Elasticsearch.
-
Confirm the following settings on each node in the cluster.
- SpectrumDirectory/repository/neo4j.templateSpectrumDirectory\repository\neo4j.template
dbms.active_database=graphdb dbms.default_database=graphdb dbms.default_listen_address=0.0.0.0 causal_clustering.discovery_advertised_address=${spectrum.agent.address} causal_clustering.enable_pre_voting=false dbms.routing.enabled=true dbms.routing.listen_address=0.0.0.0 dbms.routing.advertised_address=${spectrum.agent.address} - SpectrumDirectory/server/conf/spectrum-container.propertiesSpectrumDirectory\server\conf\spectrum-container.properties
spectrum.repository.cluster.mode=CAUSALNote: Thespectrum.repository.cluster.modesetting shown here is for the Spectrum Technology Platform server running in a cluster.
- SpectrumDirectory/repository/neo4j.templateSpectrumDirectory\repository\neo4j.template
-
Start each server in the cluster.
To start a server, right-click the Spectrum Technology Platform icon on the Windows task bar, and click Start Spectrum. Do not wait for one node to start before starting another node. All nodes must be started at the same time.For more information, see Starting a Cluster.
-
On each node, open the SpectrumDirectory/index/elasticsearch.templateSpectrumDirectory\index\elasticsearch.template file, insert the hash character
#to comment out the following line:# cluster.initial_master_nodes: node-1,node-2,node-3,...Important: This setting must be commented out after you start the cluster for the first time. It should remain commented out for all subsequent restarts of the cluster, as Elasticsearch handles adding and removing nodes after the cluster is started initially.