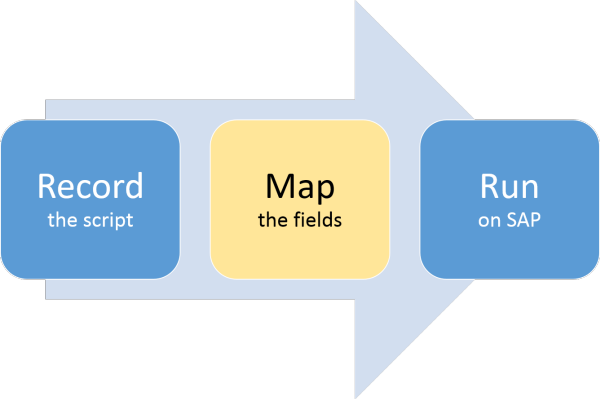
Mapping overview

When you complete the recording in SAP, Studio automatically compiles the script and moves to the Map tab, which includes:
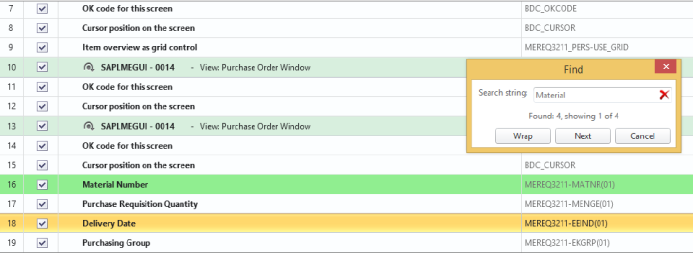
- Mapper: In the Mapper, you can see fields for all the items you clicked while you were recording the script.
- Data Set panel: The Data Set panel displays a preview of the Excel worksheet or the Access database where the fields selected from the Mapper are mapped.
- Properties panel: In the Properties panel, you can specify allowed values, whether to add padding, and other options for the field that is selected in the Mapper. The options change depending on the field that is selected.
You can also specify script-level properties and change the recording mode. Click the Script button up near the top of the panel to switch from field properties to script properties.
To automatically map the fields, click Auto Map on the ribbon. The location of the Log column will depend on the Studio 12.x Excel settings.
Note: If you are using Access, you can use Auto Map only on an unsaved database file.
Or you can map the fields manually. For instructions, see the following:
Note: Within the Mapper, you can use the keyboard shortcuts CTRL Z (undo a command) and CTRL F (find a word or words).

Note: If you do not map a script to an upload or download field, you will receive a message noting that the Transaction script requires at least one upload field.

Advanced mapping features
In the Mapper, you can also create nested or indexed loops, add conditions, specify which values are allowed for a field, and add transforms to adjust data. For more information, see the following topics:
Restore an original recording in Studio
Skip screens that are not in the SAP system
For troubleshooting specific situations, see the Winshuttle Support Portal.
