Upload Digital Assets Widget
The Upload Digital Assets Widget is used to quickly upload Digital Assets into the EnterWorks system. It loads the selected Digital Asset into the DAM repository and creates any defined image variants, but it does not link the Digital Asset to a record. Image variants are not created if:
- The asset is not an image recognized by EnterWorks (this is controlled by a Code Set that lists all valid file name extensions).
- The variant doesn’t have a Regex Rule (that is the attribute name in DAMVariants) that would exclude the asset based on the file name.
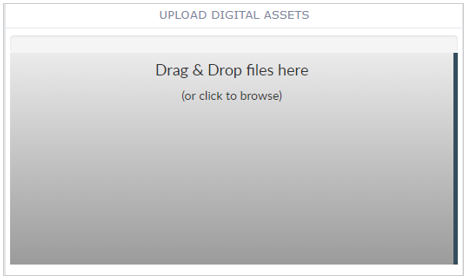 Upload Digital Assets Widget (before first use) |
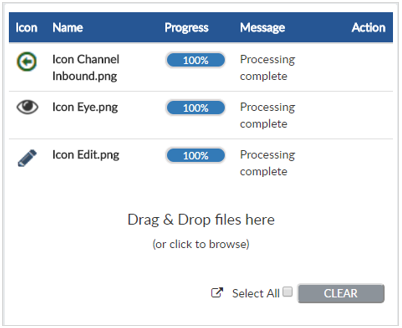
To use the Upload Digital Assets Widget, drag and drop a Digital Asset file to the Upload Digital Assets Widget. The Digital Asset will be uploaded. The Upload Digital Asset Widget will show the completion status of the upload.
|
Upload Digital Asset Completion Status (after first use) |
Configuring Upload Digital Assets Widget
To configure an Upload Digital Assets Widget, first configure a new blank Widget. For more information on adding and configuring new Widgets, see Add a Widget.
Select the Widget Settings icon![]() in the upper right of the
new Widget’s Activity Bar. Note that a Widget’s Activity Bar will not be displayed unless the cursor is
hovering over the top of the Widget.
in the upper right of the
new Widget’s Activity Bar. Note that a Widget’s Activity Bar will not be displayed unless the cursor is
hovering over the top of the Widget.
A Widget Configuration window will appear. Select Upload Digital Assets from theType dropdown list on the far right of the Widget Configuration window. The Upload Digital Assets configuration options will appear.
|
Configure the Upload Digital Assets Widget |
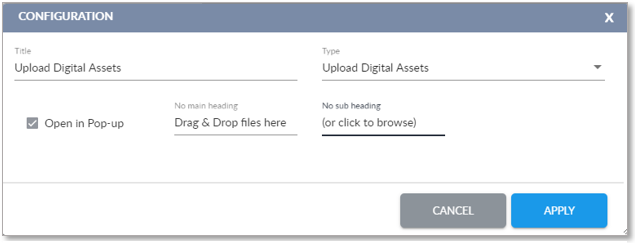
The Upload Digital Assets configuration option are:
- Title: The title of the Widget. It is helpful if the title of a Widget reflects the source of the data as well as the Widget’s type, for instance “Upload Digital Assets”.
- Open in Pop-up: The Widget will open as a pop-up window.
- Main Heading: The larger-font text that will be in the middle of the Widget.
- Sub-heading: The smaller-font text that will be beneath the Main Heading.
Click Apply to save the changes to the Widget and close the Widget Configuration window. Click Cancel to close the Widget Configuration window without saving the changes.

Copyright 2007, 2023 Precisely