Comparing Input and Output
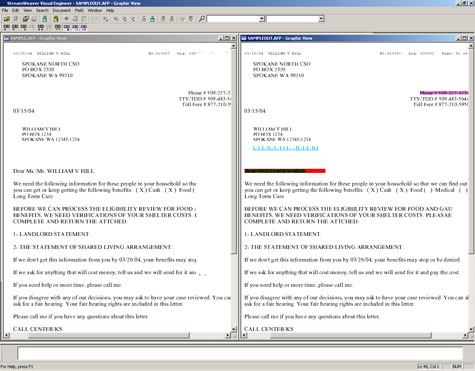
The compare tool allows you to view a before-and-after comparison of your AFP or Metacode print stream. The input print stream is displayed next the output print stream with added, changed, and removed text and objects are highlighted. The compare tool allows you to see if your control file had the intended effect on the print stream.
To view a comparison of the input and output:
- If you haven't done so already, run your Enrichment control file. For more information, see Running Application Test.
- In the control file, place the cursor in the <OUTPUT> tag group's <FILE> tag for the output that you want to use for the comparison.
- Right-click and select Compare.
- If there are multiple inputs and outputs, you will be prompted to choose an input and output to compare.
- The input print stream will display on the left side of the window and the output will display on the right.
- Select which kinds of changes you want to highlight:
 —Highlight added objects and/or text. Added items appear in blue.
  —Highlight deleted objects and/or text. Deleted items appear in red.
 —Highlight changed objects and/or text. Changed items appear in purple.
- Refresh the display by clicking this button:

- Use the following buttons to scroll through the comparison print streams:
 —Scroll the input print stream down one page.
  —Scroll the input print stream up one page.
  —Scroll the output print stream down one page.
  —Scroll the output print stream up one page.
  —Scroll both the input and the output print stream down one page.
 —Scroll both the input and the output print stream up one page.
- When you scroll through the print streams you need to refresh the display in order for the highlights to display. To refresh the display, click this button:
