
Enabling and using the relay-service-client
You can enable the relay-service-client by configuring the following property found in
the deploy.properties file:
relay.service.client.enabledOnce relay-service-client is enabled it is deployed in core bundle at which point it can be accessed via:
http/https:<core bundle url>:<core bundle port>/relay-service-clienthttps://eo-core-bundle-node1:8080/relay-service-clientrelay-service-client is performed under a loadBalancer url e.g.:
https://eo-core-bundle-loadBalancer:8080/relay-servcie-client This will cause the relay-service-client to monitor or diagnoses websocket traffic on one node depending on the loadBalancer redirect. To investigate issues in the environment effectively you will need to connect to all core bundles in cluster. The example below illustrates a scenario where the core bundle has two nodes:
https://eo-core-bundle-node1:8080/relay-service-client https://eo-core-bundle-node2:8080/relay-service-client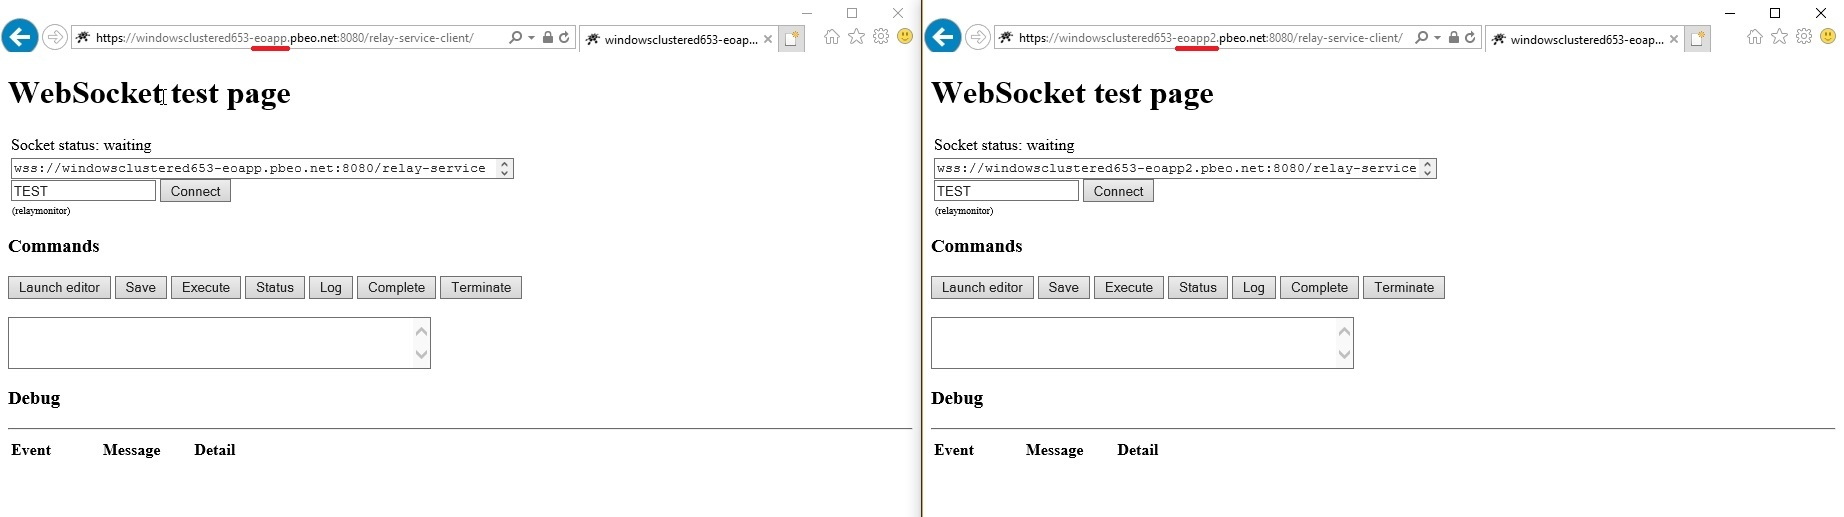
- Open two relay-service-client instances.
- Specify randomly named sessionID (next to Connect button)
- Click Connect.
When the websocket channel has been establish you can send messages between clients by executing the appropriate command button e.g. Save, Execute, Status, Log, Complete.