
Adding assets to your project
To add a asset:
- In the Search field, start typing the name of the asset that you wish to add. Matching assets are displayed according to the characters entered in the Search field. Alternatively, go through the folder structure to locate the required asset.
- In the right corner, there are three radio buttons, which are responsible for filtering assets; it is possible to show only templates, active content or both.
- To add assets to your project, click on the required asset's name /Add symbol. Select the Add All Assets option to include all available assets in the selected folder. If you wish to add a new asset to the current folder, click on the Create New Template or Create New Active Content button.
- Click on the X symbol to remove an asset that has been added during your current interaction with this page. Note that assets already assigned to your project are indicated with a Tick symbol. The option to remove an asset from your project is only available on this page before you close it. Note that you will be able to remove the asset from the Assets view on the Project page. Refer to Deleting assets from your project for further information.
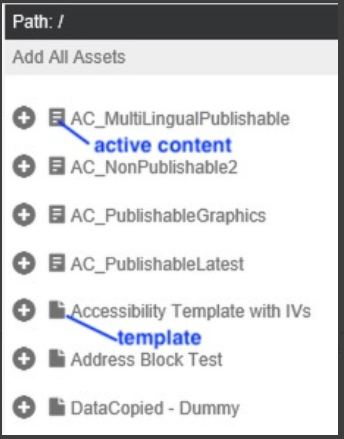
The following icons are used to indicate which assets are templates and which are active content.
Considerations when adding active content to a project:
- During the review process of an active content, the reviewer is only presented a PDF representation of the contents within the active content. If you wish the review to be conducted in context of a template, the template also needs to be added to the project and submitted for review.
-
If the active content only contains logic, i.e. no presentation, it is recommended that a template is included in the project to be reviewed, so that the changes to the active content can be reviewed correctly.