MSI: Fresh installation and upgrade
Installation for only Logged-in User using MSI in Silent Mode
- Run CMD as administrator.
- Navigate to installer file location and select the installer WinshuttleStudio_x64.msi.
- Give the commands as shown in the following image.

Upgrade using .msi: Executing directly
- Run CMD as administrator.
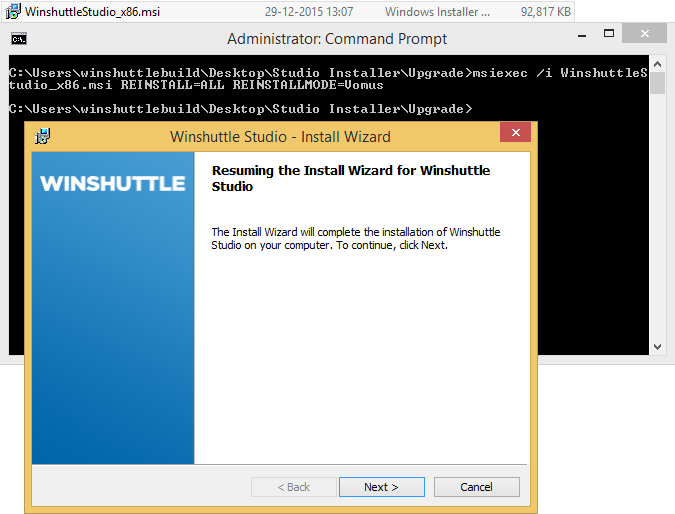
- Navigate to the installer file location and select the installer.
- Provide the commands as shown in below image, press Enter, and wait for the dialog box to process. Then click Next.

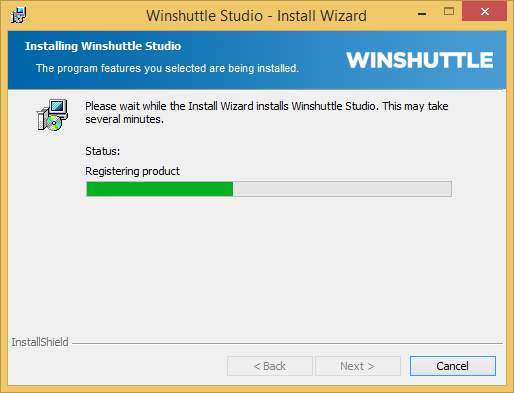
- Upgrading Studio installer:

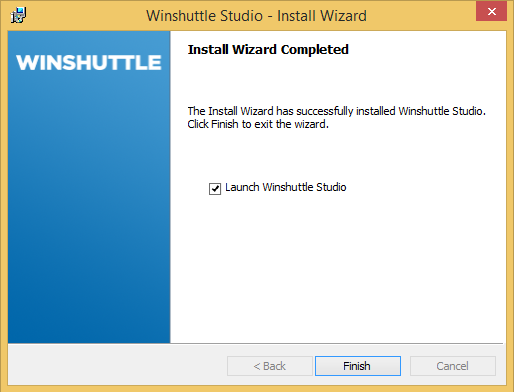
- Click Finish to complete upgrade process.

Upgrade using .msi: Command line, silent installation
- Run CMD as administrator.
- Navigate to the installer file location and select the installer.
- Provide the commands as shown in the following image, and press Enter.

Installation for All-Users using MSI in Silent Mode
-
The command has additional two attributes (ARPNOMODIFY=0 ALLUSERS=2) to ensure installation for All Users using MSI in silent mode.
msiexec /i "msi file name" /qn ARPNOMODIFY=0 ALLUSERS=2
Upgrade for All-Users using MSI: Executing directly
- Run CMD as administrator.
- Navigate to the installer file location and select the installer.
- Provide the commands as shown in below image, press Enter, and wait for the dialog box to process. Then click Next.
msiexec /i WinshuttleStudio_x86.msi REINSTALL=ALL REINSTALLMODE=Vomus ARPNOMODIFY=0 ALLUSERS=2
- Upgrade Studio installer

- Click finish to complete upgrade process.

Upgrade for All-Users using MSI in Silent Mode
-
The command has additional two attributes (ARPNOMODIFY=0 ALLUSERS=2) to ensure upgrade for All Users using MSI in silent mode.
msiexec /i WinshuttleStudio_x86.msi REINSTALL=ALL REINSTALLMODE=Vomus /qn ARPNOMODIFY=0 ALLUSERS=2
Uninstalling (for both Logged-in and All-Users) using .msi: Command line, silent uninstallation
1. Run CMD as administrator.
2. Navigate to installer file location and select the installer WinshuttleStudio_x64.msi.
3. Give the commands as shown in the following image.