Upgrade WFM on ECC6 710, 711, 71x
Prerequisite
Winshuttle FM 10.6 or 10.7
Upgrade
Step 1
- Log on to your SAP system in client 000.
Do NOT use user SAP* or DDIC.
- Start transaction SAINT.
- Click Installation Package > Load Packages > Front End.

- Upload the file WNSC70DU.SAR.
- Decompress to a .PAT file.
- Click Start.
- Click Continue.
- Click Continue.
- Select the OCS package and click Continue.
- If the Add Modification Adjustment Transports to the Queue window appears, click No.

- Click Start options.
- Select Start in background immediately and click the green check mark to continue.
- On the next screen, click the green check mark to import the package.
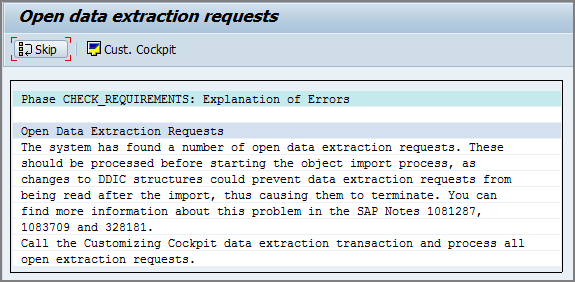
- If the Open data extraction requests window appears, click Skip.

- Click Yes to continue the import process.
- Click Refresh or press Ctrl+F6 to refresh the screen.
- When the installation finishes, click Logs to view the import logs and confirm that the installation was completed successfully.
- After you view the logs, return to the Status/Remarks screen and click Finish.
Step 2
The transport import is a standard procedure that consists of two files, K900nnn.NW8 and R900nnn.NW8, where nnn is an SAP-generated number.
- Go to the DIR_TRANS path (on Windows NT, /usr/sap/trans; on UNIX, \usr\sap\trans).
- Copy the K file to the "cofiles" directory.
- Copy the R file to the "data" directory.
- Log on to SAPGUI.
- Start transaction STMS and select the import queue for the target system.
- On the Others menu, click Extras > Other Requests > Add. Enter request NW8K900nnn.
- Select the request number NW8K900nnn.
- On the Option menu, click Request > Import to import the NW8K900nnn transport file into the system.
If your target client is not 000, be sure to select the Ignore Non-Permitted Table Class option.
