Create a Hierarchy
- View Hierarchy/Taxonomy Sidebar
-

To create a Hierarchy for a repository:
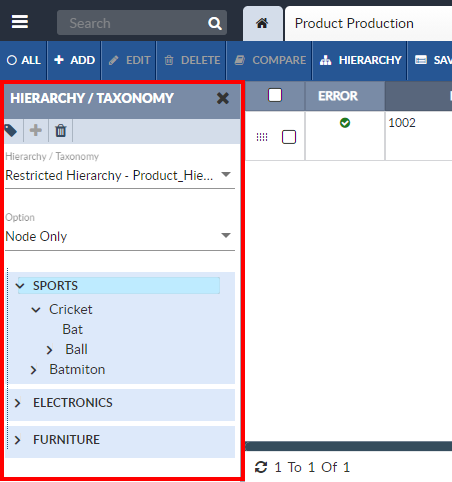
- Open the repository's Hierarchy/Taxonomy Sidebar, (see Hierarchy/Taxonomy Sidebar).
- Click the Add
 button on the Hierarchy/Taxonomy Sidebar’s Activity Bar.
 - Add Hierarchy
- The Add Hierarchy window opens on the Details page. The configuration options are:
- NextProperty
- Properties are optional. They are custom metadata fields that can be added to a Hierarchy. The configuration options for properties are:
- NextLevels
- The levels defined here are what determines the "depth" of your Hierarchy tree. For example, if you define three levels, your Hierarchy will have a parent level, child level, and grandchild level.
- When the Hierarchy configuration options have been edited as desired, click the Save button to save the Hierarchy, or click the Cancel button to exit without saving the Hierarchy.
- The display will revert to the Repository View’s Hierarchy/Taxonomy Sidebar. If a Hierarchy has been added, it should appear. If the new Hierarchy does not appear, clear the cache and click the Refresh button.
- The new Hierarchy does not yet have nodes defined.
- Hierarchy/Taxonomy SidebarHierarchy/Taxonomy
