Applies to:
- Winshuttle Foundation
Working with groups
Related topics
With Groups you can organize information in your forms by grouping elements together into different sections. Once you organize a basic form with groups, you can add different form elements (such as drop-down boxes, tables, graphics, or text boxes, to name just a few) to the groups to create your form.
On this page
By default, a new form begins with one group.
For example, in a purchase request form, you may want to group Requester information in one section, Supplier information in another, and line items and prices for the purchase request into a third section.
During the form creation process, you can change, add, delete, or re-organize groups as you see fit.
For example, you might want to group fields based upon Requester information, Supplier information, and Purchasing Information. You may also want a group for your company’s logo and/or header.

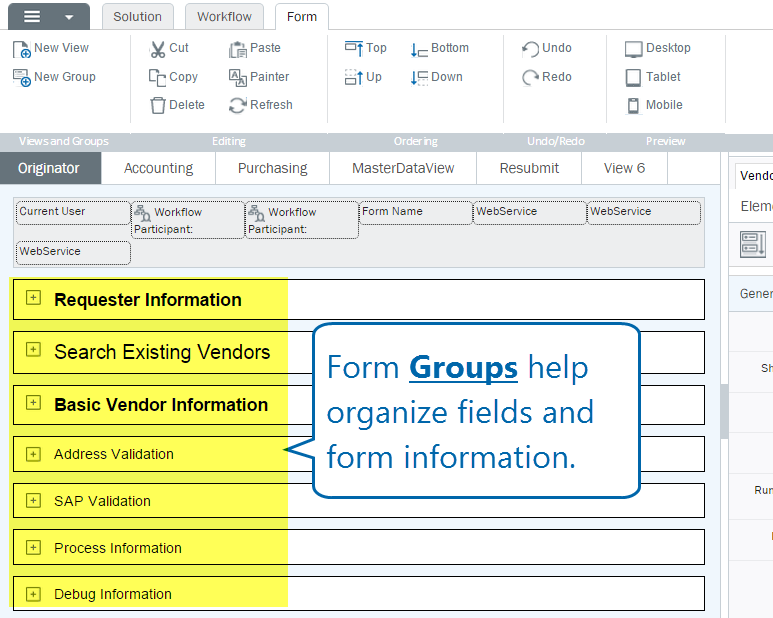
In the example below, some groups have been created as the beginning structure for a new form.

Adding a new group to a form
Back to top- On the Composer ribbon, click the Form tab.
- Click New Group. The group will be added in the canvas.
- In the canvas, click the name of the group to rename it.

Moving groups in a form
Back to top- In the canvas, click the group you wish to move.
- Drag and drop the group to the desired location in the form. Or, on the Form Tab ribbon, click one of the following:
- Top: moves the selected group to the top of the form.
- Bottom: moves the selected group to the bottom of the form.
- Up: moves the selected group up.
- Down: moves the selected group down.
Tip: You can also move a group by right-clicking the group, and then clicking the option (Top, Bottom, Up, Down) on the menu.
Creating sub-groups
Back to topSub-groups provide the same functionality as a standard Group and simply provide additional flexibility when designing a form layout. They are rendered as just another Element within the parent Group.
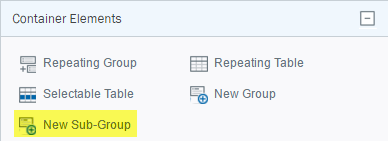
In the Properties Pane, under Container Elements, click New Sub-Group.

Make sure of the following when working with repeating groups or repeating tables
When working with Repeatingelements of any type (i.e. Repeating Groups and/or Repeating Tables) within a Web Service (or elsewhere), make sure of the following:
- Any field within a Repeating Content folder within the Form Data tree is also in the form within a repeating container.
- All non-repeating fields in the Form Data tree are non-repeating in the form.
Failure to follow the above guidelines may result in unintended behavior while working with repeating elements when running a Web Service.
