 Home
Home Product Help
 Support
 Print
Print Feedback
Studio for Salesforce options
You can change the Studio for Salesforce settings by clicking the File tab and then clicking Options. To change all options back to their original settings, click Restore Defaults.
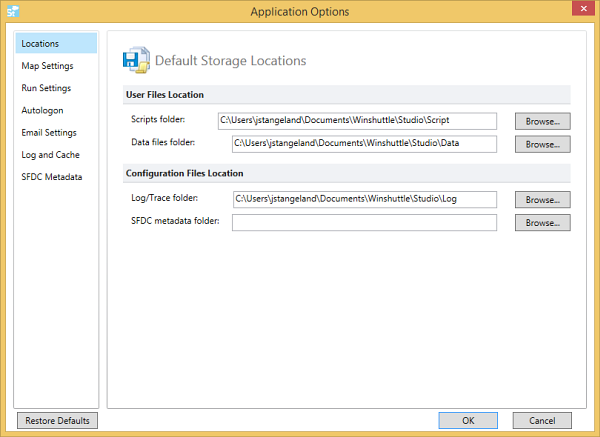
Locations
Click Locations to change the default locations for storing the data files, scripts, application trace, and Salesforce.com metadata files.
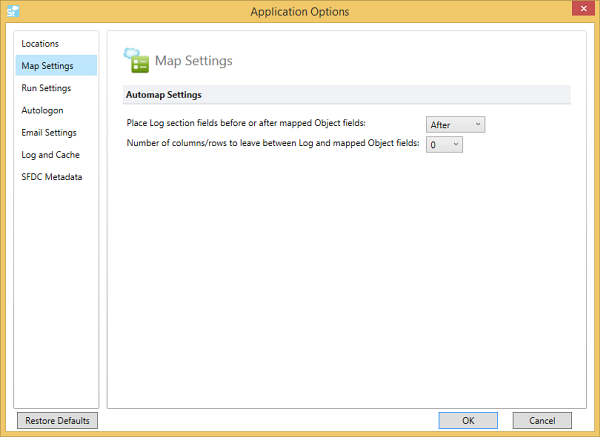
Map Settings
Choose to place the log column or columns before or after the other fields and choose how many blank columns to place in between.
Run Settings
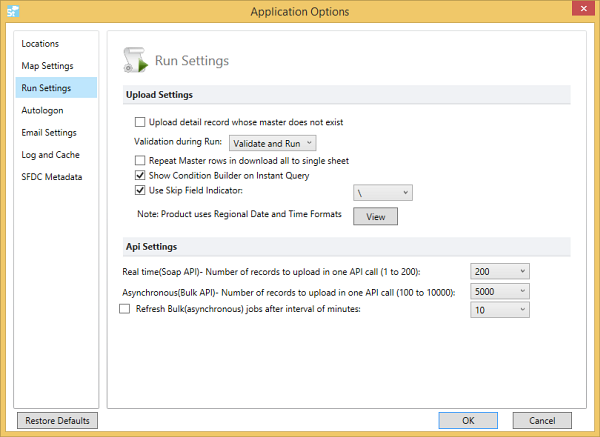
Upload Settings
Upload detail record whose master does not exist: Check the box to upload a detail record even though it is not linked to the master record.
For example, if you are running a script that has Accounts as the Master object and Contacts as the Details object and you do not yet have account information for some of the contacts, check this option to upload the contacts, and then add the associated account information later.
Validation during Run: Choose an option:
- Validate and Run: Validation runs on each data row, and the row is uploaded only if validation is successful.
- Run (no validation during Run): This option is for data that has already been validated separately; if the data has not been validated and there are errors, Studio for Salesforce returns error messages in the Log column.
Repeat Master rows in download all to single sheet: Check this box to include the master data for each detail object row that is downloaded.
Show Condition Builder on Instant Query: For single-object queries, check this box to open the Condition Builder when you click Instant Query.
Use Skip Field Indicator: Select the character, \ or /, that will indicate that a field should be skipped during upload and that the existing value in Salesforce should be retained.
View the date and time formats: Studio for Salesforce by default uses the same settings that Windows uses. Click the View button to see what those settings are.
API Settings
Real-time (SOAP API) - Number of records to upload in one API call: Reduce the number of API calls that you make to Salesforce.com by selecting a value from the list. The maximum number of records is 200.
Asynchronous (Bulk API) - Number of records to upload in one API call: Reduce the number of API calls that you make to Salesforce.com by selecting a value from the list. The minimum number or records is 100. The maximum number is 10000. The default value is 5000.
Refresh Bulk(asynchronous) jobs after interval of minutes: Check this box to have the Bulk Request Manager automatically update, and then specify the number of minutes between updates.
Autologon
In Studio for Salesforce, the logon settings are stored in the AppData folder, and they cannot be transferred from on computer to another.
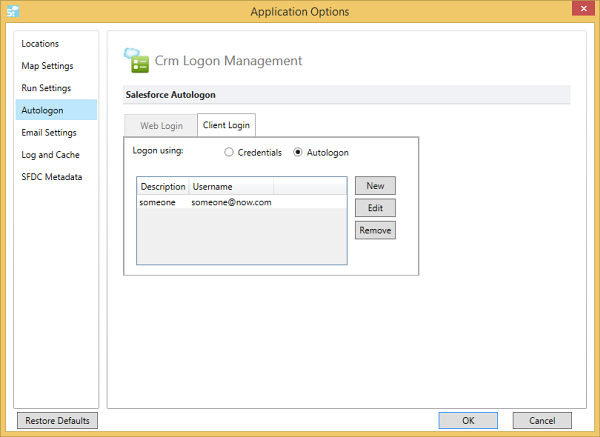
Credentials
If you have not stored your credentials, click Credentials, and then type in your email address, password, and security token. Check the Autologon Name box, type a name for the credentials, and then click OK.
Select Autologon
New: Click New to enter and store new credentials.
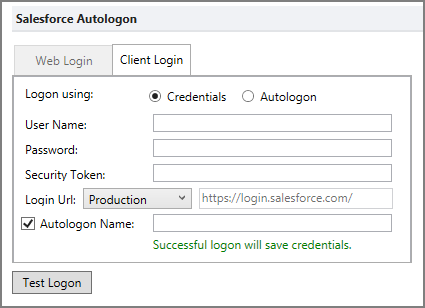
Test Login: Click this to test the credentials that you entered. If one or more of the credentials contains an error, Studio for Salesforce displays a message.
Edit: Click Edit to change the user name (email address), password, security token, or URL for the selected autologon name. You can also change the autologon name.
Remove: Select the autologon name and click Remove to delete the autologon name.
Email Settings
You can specify that email notifications are sent after a run or a scheduled run if the script runner checks the Send email on Run box on the Run tab.
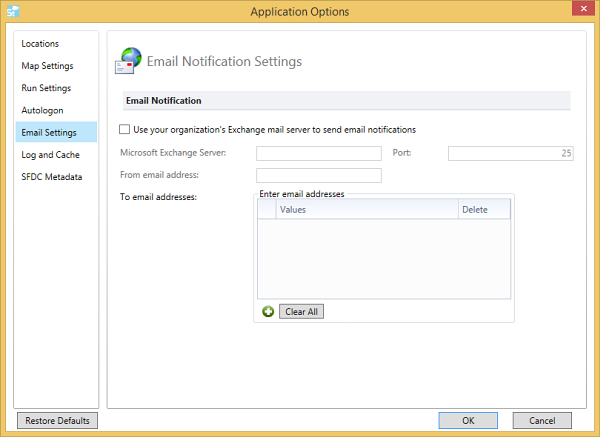
Select the check box.
Microsoft Exchange Server and Port: Enter the Exchange Server address and port.
From email address: Enter the address from which the notification will be sent.
To email addresses: Click the plus sign to add email addresses to which the notification will be sent.
Log and Cache
To generate a trace file for help with troubleshooting, check the Enable Application Trace box.
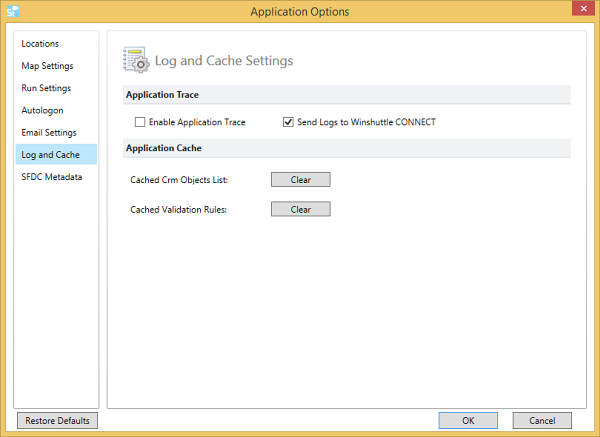
Application Trace
Enable Application Trace: Check this box to generate a trace file for help with troubleshooting. After you finish your recording, uncheck the box. You can find the log file in a Log folder that’s stored in the same location as the Data Files and Scripts folders.
Send Logs to Winshuttle CONNECT: Check this box to send the log file to Connect.
Application Cache
Cached CRM Objects List and Cached Validation Rules: Click the Clear buttons to remove the cached objects list and rules from the system.
SFDC Metadata
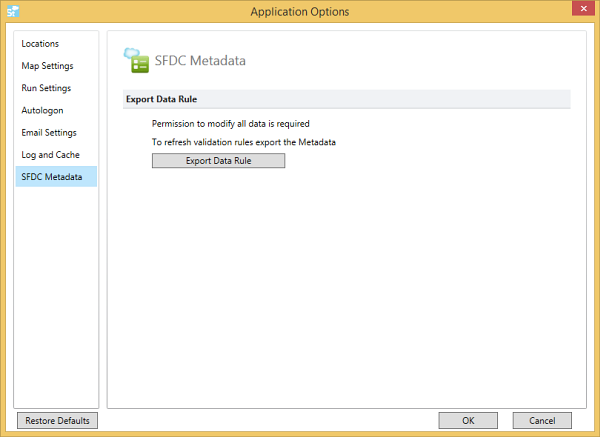
Export Data Rule: Click this to export the XML file, then save it and distribute it to people who do not have permissions to read the SFDC metadata. This will enable them to run offline data validation.
 Trademarks