 Home
Home Help Center
 Support
 Print
Print Feedback
Designer Quick Start Guide
Designer Quick Start Guide
Tutorials
Additional Resources
Master Data Solution Accelerators
Solution Accelerators are guidelines for creating and implementing forms and workflow solutions for Master Data with Winshuttle products. Includes downloadable sample files.
Tutorial: Creating your own Vendor Master Solution
Walk through the end-to-end process of creating a form and workflow for vendor master creation in SAP (using Winshuttle Designer, Transaction, Query, and Microsoft InfoPath). Includes downloadable sample files.
On this page
This Quick Start Guide will help you get started with Winshuttle Designer as quickly as possible and includes a series of examples and exercises that will demonstrate the following. Through these exercises, you'll learn a variety of basic, intermediate, and advanced skills such as:
- Creating an employee Time Off Request form
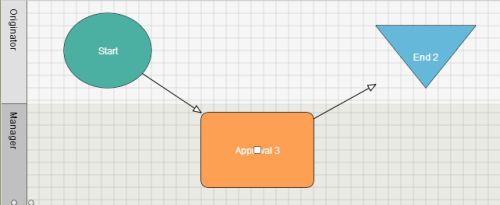
- Creating a simple example workflow that routes the employee Time Off Request form for management approval
- Creating a form with SAP Web Services
- Creating Workflows with functions
- Working with InfoPath
- Publishing Web services
- Adding custom controls to InfoPath
Video: Designer guided tour
Note: The following video was made using Designer 10.5, but the information largely applies to Designer 10.4 and later versions.
After working through the examples presented in this guide, you can use Winshuttle Designer to create custom workflows and forms tailored to your business environment. Your workflows and forms can be as simple or complex as your environment requires.
The rest of this guide explains additional features, functions, and more advanced information for using Winshuttle Designer.
Preparing the tutorial environment
Before you begin working through the quick start tutorial exercises with Winshuttle Designer, you will need to ensure the environment is correctly installed, configured, and functioning.
- Install SharePoint, Winshuttle Workflow, and Winshuttle Designer.
- Create the following SharePoint accounts (these are used in the 'AlphaOne Bank' example):
- Steve Designer — the person responsible for designing forms and workflows at AlphaOne Bank. He is the Site Admin on the site to which the forms and workflows are published.
- Mary Employee — an AlphaOne Bank employee who will request time off for vacation in this example.
- Joe Manager — Mary Employee’s manager, who will be asked to either approve or reject Mary’s request for time off.
- Ensure that Microsoft InfoPath is installed on the client machine (the machine on which you will design the form and workflow). InfoPath is a part of Microsoft Office and is used for creating forms.
- Add Designer custom controls to InfoPath (Designer 10.5 only. Designer 10.6 and later users can skip this step.)
NOTE: You can add all of Designer's Custom Controls to InfoPath, although the tutorial only requires the following: Sharevis.ProcessControl, ShareVis.Attachment, ShareVis.CurrentUser, and ShareVis.FormName.
 Trademarks