Mapping workflow participants to a SharePoint list
The Labeled Assignments feature allows you to define preconfigured workflow participants and map them to the values of a SharePoint list column. The name given to each labeled assignment group will be matched against a value in the specified SharePoint list column. A column to use in selecting the labeled assignment group can be added in the usual ways.
On this page
- Configuring a process to work with a labeled assignment column
- Configuring labeled assignment groups
- Uploading labeled assignment names
Configuring a process to work with a labeled assignment column
You must create the Labeled Assignment column with corresponding Assignment Group listings in your document library (for Document Workflow) or your form library (for Form Workflow).
To configure a process to work with a labeled assignment column:
- Start Winshuttle Designer and in the SharePoint Site property in the Publishing area, enter the URL to your site.
- From the drop-down list in the SharePoint List property, select the SharePoint list with the Labeled Assignment column and the corresponding Assignment Group listings.
- From the drop-down list in the Labeled Assignment Column property (in the Participants area), select the SharePoint list column with the Labeled Assignment Group listings.
- From the drop-down list in the Assignment Style property (in the Participants area) select Predefined.
- Publish the process.
Configuring labeled assignment groups
To configure Labeled Assignment Groups:
- With the SharePoint labeled assignment column created and the process configured to work with the labeled assignment column, from the Tools menu select Labeled Assignments Editor.
The Labeled Assignments Editor appears.
- From the List menu, select the SharePoint list with the Labeled Assignment Column and the corresponding Assignment Group listings.
- From the Process menu, select the process you configured to work with the labeled Assignment Column.
- In the Labeled Assignment Group area, type the name of your Labeled Assignment Group in the text box and click Add.
A new listing appears in the Name menu of the Labeled Assignment Group area.
NOTE: The names of the Labeled Assignment Groups must match the corresponding entries in the Labeled Assignment Column of the SharePoint list.
- With the corresponding Labeled Assignment Group Selected, in the Workflow Participants area, click Add.
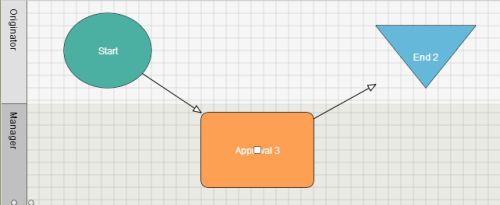
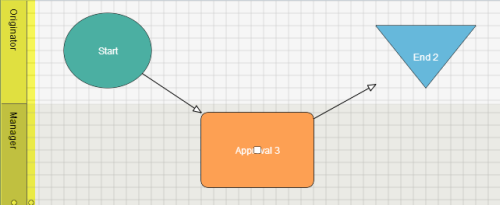
- In the swimlane listings, select the swimlane to which you want to assign a workflow participant.
- In the Assignee area, select the workflow participant you want to assign to the swimlane.
- Click OK.
- Repeat steps 6 – 8 for all the swimlanes you want to configure with participants.
- Repeat steps 4 – 7 for all the labeled assignments groups in your Labeled Assignment Column of the SharePoint list.
Your labeled assignments are available for use via the Labeled Assignment Column of the SharePoint list. Selecting a listing in the designated menu will automatically select the participants for the corresponding group.
Uploading labeled assignment names
You can save your Labeled Assignment names in a spreadsheet, and then export the spreadsheet in comma-separated values (CSV) format to upload to your SharePoint server. The titles on the columns must be as follows:
Column Title | Description |
Process Name | The name of the process in which the Labeled Assignments will be used. |
List Name | The name of the SharePoint list, which will be the same as the name of your form. |
Group Name | The name you want to give to your Labeled Assignment group that you will be referring to later. |
Role Name | The name of the swimlane in question. |
Actor Login Name | The domain-qualified name of the user you are adding. |
Each row in the spreadsheet represents a Labeled Assignment entry, just as if you had entered it in Designer. Once you have your CSV file, you can upload it to the server by selecting Labeled Assignments then CSV Upload from the Tools menu in Designer.
 Home
Home Help Center
 Support
 Print
Print Feedback


 Back to top
 Trademarks