 Home
Home Help Center
 Support
 Print
Print Feedback
Working with Nodes
Related Topics
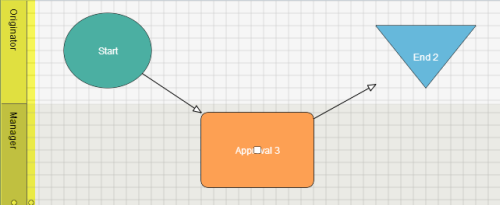
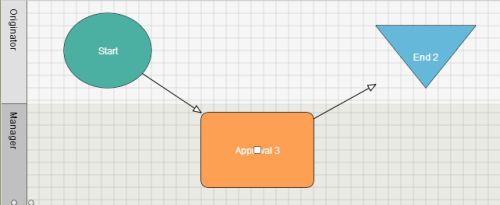
A node is a point within a workflow that represents a step in a business process, such as a task or activity, a decision, or a request for approval. Nodes are assigned to participants by placing them within a corresponding swimlane in the Designer canvas. For some nodes, the swimlane placement is important. For other nodes, it is not. Each node has configurable properties that define the behavior of the node.
On this page
Adding nodes to a workflow
- On the Winshuttle Designer toolbar, click the node you want to add (for example, the Start node).
- In the Designer canvas area, click and drag in the appropriate swimlane to draw the node.
NOTE: We recommend placing the Start and End nodes in the Originator swimlane. However, depending on your workflow, you may choose a different swimlane.
Setting node properties
You can set Node properties to define settings for each node in your workflow.
- Click on a Node in the Designer canvas.
The Properties pane displays properties for the selected node. The available properties depend on the node type.
- Use the Properties pane to set properties for the node as needed.
For detailed information about the properties of each node type, see Node Properties.
- Repeat steps1-2 to set properties for each node in your workflow.
- On the File menu, click Save to save your changes.
 Trademarks