Tutorial 1: Creating a Time Off Request Form
Tutorial 1: Creating a Time Off Request Form
- Creating a form workflow site
- Creating the form solution
- Creating development profiles
- Creating the workflow
- Submitting solutions for approval
- Publishing the Solution
- Starting a new form and process
- Completing the task assignment
- Viewing task history
- Assigning unique form names
- Adding requester name and date
- Adding email notifications
- Configuring autopost
This series of exercises uses the example of a bank called AlphaOne Bank. AlphaOne Bank requires its employees to fill out a Time Off Request form when they want to take time off from work. Employees are required to get their manager’s approval on the Time Off Request form before they can take time off from work. This guide demonstrates how you can create a custom form and workflow with Winshuttle Designer.
This tutorial and associated exercises will walk you through the following processes:
- Creating an employee Time Off Request form
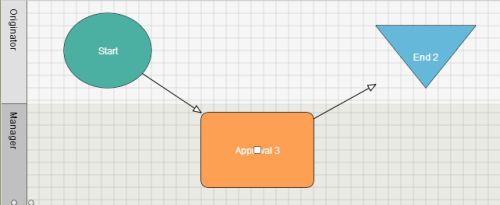
- Creating a simple example workflow that routes the employee Time Off Request form for management approval
- Associating the Time Off Request form with the workflow you created
- Starting the workflow, and then completing a task assignment in the workflow.
- Creating a name template to establish a custom naming scheme for Time Off Request forms.
- Automatically adding the requester name and the current date to the Time Off Request forms
- Creating an automatic email notification to inform users when their Time Off Requests have either been approved or rejected.
- Configuring Designer to automatically post data.
After working through the example(s) presented in this guide, you can use Winshuttle Designer to create custom workflows and forms tailored to your business environment. Your workflows and forms can be as simple or complex as your environment requires.
 Home
Home Help Center
 Support
 Print
Print Feedback

 Back to top
 Trademarks