 Home
Home Help Center
 Support
 Print
Print Feedback
Add Attachment
Back to
Related topics
Looking for Winshuttle Composer Plugins?
The Add Attachment Plugin gives you the ability to attach a document automatically at a given point in a Workflow. The document can reside in a folder on a server or in a SharePoint Document Library.
Property | Description |
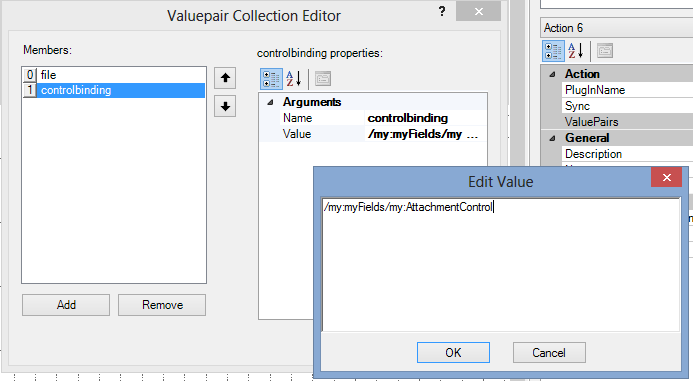
controlbinding | The XPath of the Ws.Attachment control inside Microsoft InfoPath. (Example: /my:myFields/my:AttachmentControl) NOTE: The only supported Attachment Control for this Plugin is the Ws.Attachment Control |
file | The fully qualified path to the file. Examples: File on server: D:\Files\Public\Users\Daily Records.xlsx SharePoint: http://servername/sites/MyDocumentLibrary/MyDocument.docx |
Inserting the Add Attachment Plugin into a Workflow
- Add a Plugin Node to your workflow.
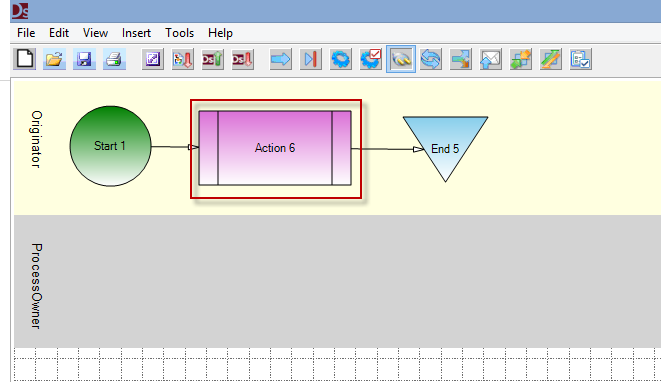
- Click the Plugin Node added in Step 1 to select it.
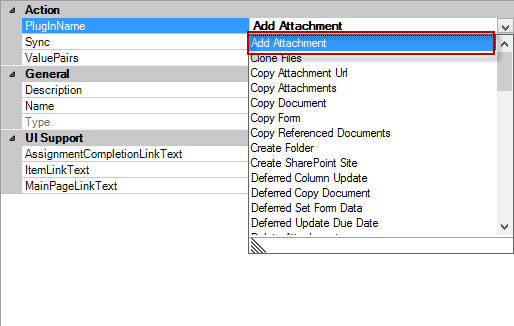
- In the Properties Pane, configure the property PlugInName to Add Attachment
- To enter your arguments: In the Properties pane, below the PluginName property, select the ValuePairs Property.to open a new window.
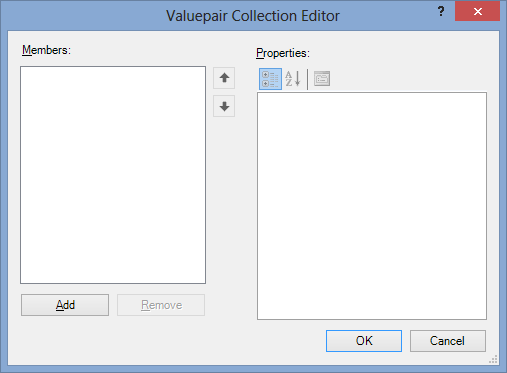
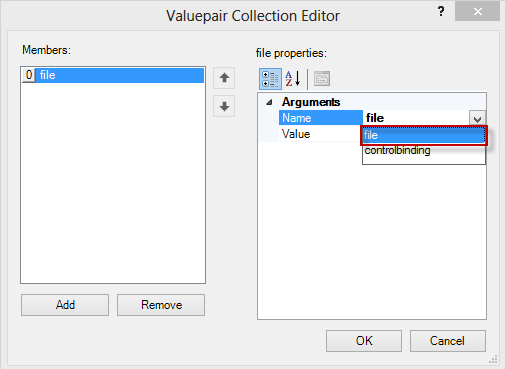
- For this Plugin, you must add 2 arguments (controlbinding and file). Click the Add button to add the arguments.
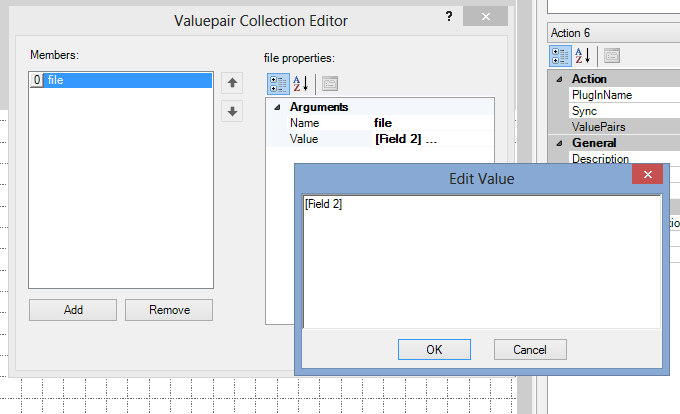
- In the File Properties box, click the Name property, and then click file.
- In the Value field, you have two options:
Option 1: Manually insert the fully qualified path to the document in which you would like to automatically attach. For example:
D:\Files\Public\Users\Daily Records.xlsx
Option 2: Refer the argument to a field in your form. This enables you to use form logic to decide what the file that is going to be attached will be. If you use this method, the field being used must be promoted to SharePoint first.
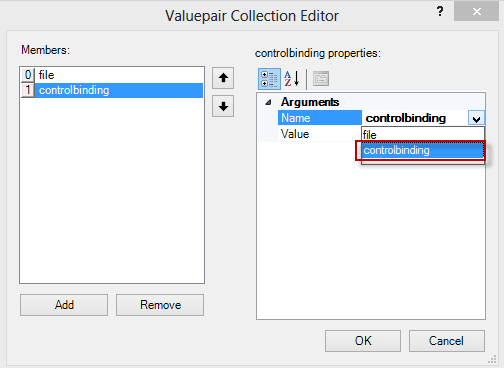
- Click Add to add a new argument.
- Click (Select) Name, and then select controlbinding.
- Set the Value Property to the XPath of the Ws.Attachment Control in your InfoPath Form.
- Click OK, and then click Publish to publish the Solution.
 Trademarks