 Home
Home Help Center
 Support
 Print
Print Feedback
Clone Files
Back to
Related topics
Looking for Winshuttle Composer Plugins?
The Clone Files Plugin provides the ability to clone an identified file in a SharePoint Document Library and place the cloned file to a specified destination.
Download example (.wssln file)
Property | Description |
sourcefile | Full link to the document to be cloned in the SharePoint Document Library. Example: http://servername/sites/MyDocumentLibrary/WeeklyReports.docx |
sourcefolder | Full link to the Folder in the SharePoint Document Library. Example: http://servername/sites/MyDocumentLibrary/FolderName |
destinationfile | Full link to the new destination with new file name. Example: If I have a document called WeeklyReports.docx in MyDocumentLibrary1 and I want to clone it to MyDocumentLibrary2, my destinationfile would be: http://servername/sites/MyDocumentLibrary2/TheNewNameToGiveTheFile.docx |
destinationfolder | Full link to the Destination Folder in the SharePoint Document Library.
Example: http://servername/sites/MyDocumentLibrary/FolderName |
Inserting and configuring the Add Attachment Plugin
- Add a Plugin Node to your workflow.
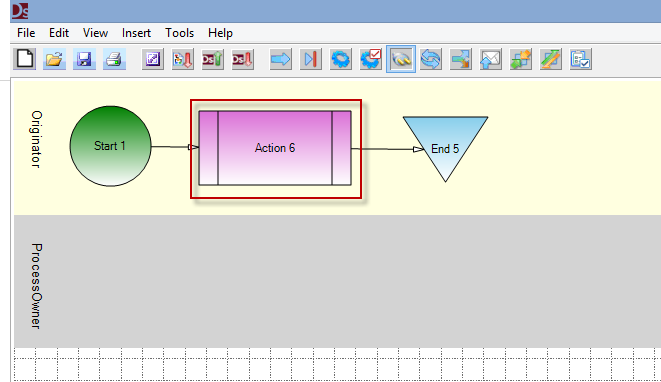
- Select the Plugin Node that you just added.
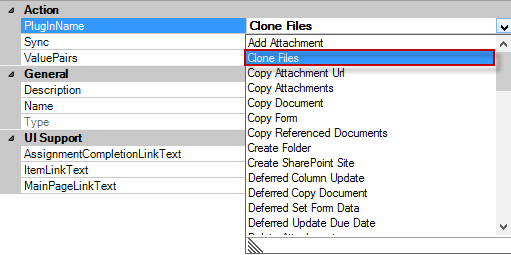
- In the Properties Pane, next to PlugInName, click the arrow and then select Clone Files.
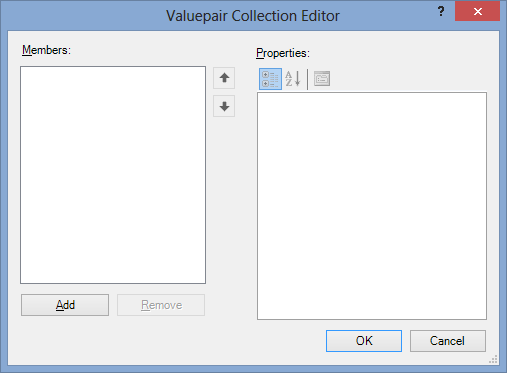
- In the Properties Pane, , below the PluginName property, select ValuePairs. Enter your arguments.
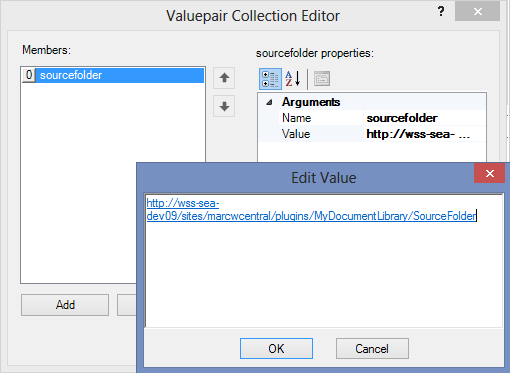
- Select the Name property and select sourcefolder from the drop down.
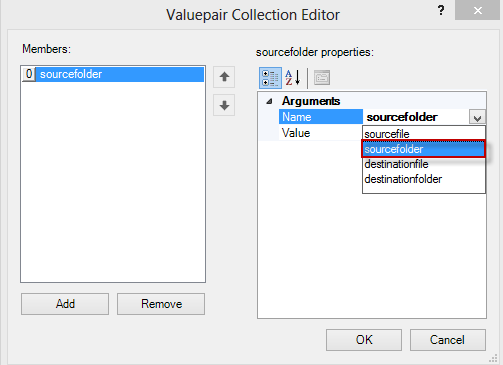
- In the Value field, enter the Full Link to the Folder in the SharePoint Document Library that holds the files in which you would like to clone.
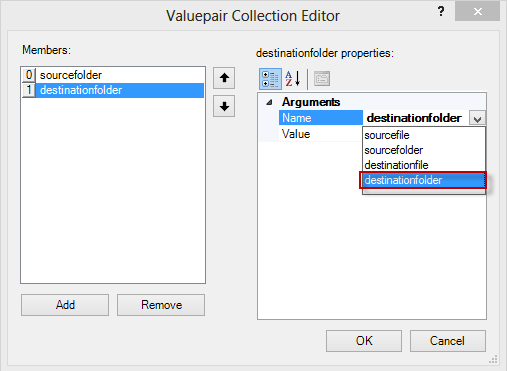
- Click Add to add a new argument.
- Under Arguments, next to Name, click the arrow and then select destinationfolder from the menu.
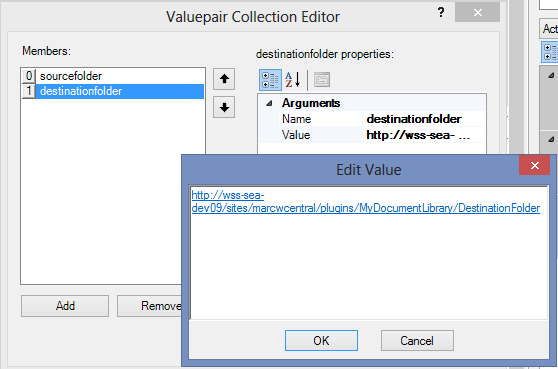
- In the Value field, enter the complete URL to the folder in the SharePoint document library where the cloned files will be placed.
- Click OK, and then click Publish to Publish your Winshuttle Solution.
 Trademarks