 Home
Home Help Center
 Support
 Print
Print Feedback
Copy Attachment
Back to
Related topics
Looking for Winshuttle Composer Plugins?
The Copy Attachments Plugin is used to copy an attachment from a Ws.Attachment Control in a form and place the copied file into a SharePoint Document Library or a file system (local computer or network).
Property | Description |
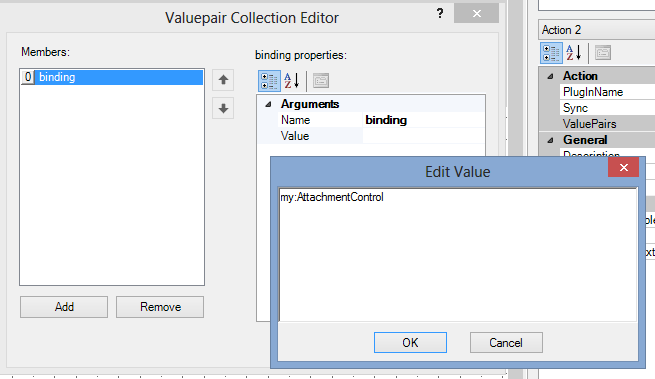
binding | The field binding to your Ws.Attachment Control. Example: my:AttachmentControl NOTE: The only supported Attachment Control for this Plugin is the Ws.Attachment Control |
directory | If specified, copies the attachments in the mentioned Ws.Attachment Control to the file system directory. |
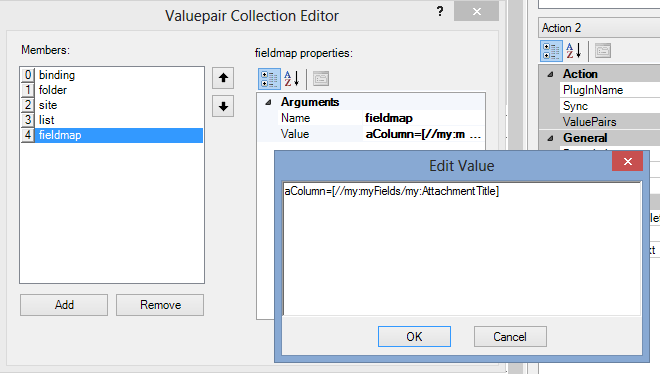
fieldmap | A column separated list of fields to be passed to a SharePoint Column. The appropriate format is SharePointColumnName=[XPathToFieldInForm]. You may also Right Click and select Fields in the Edit Value Window and select your field XPath. Example: mySharePointColumn1=[//my:myFields/my:AttachmentTitle] |
folder | If specified, the name of the Folder in the SharePoint Document Library to copy the document to. Example: MySharePointFolder |
list | The name of the SharePoint List or SharePoint Document Library to copy the document to. Example: MySharePointDocumentLibrary |
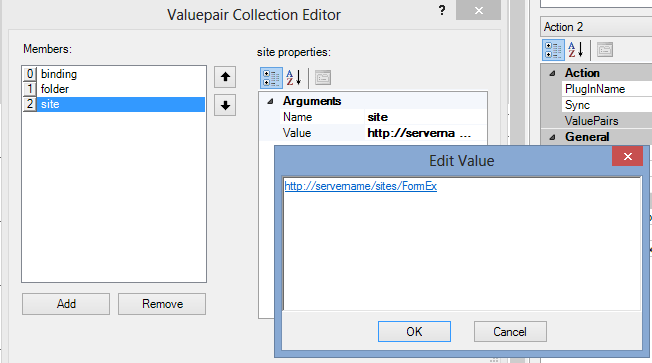
site | The URL to the SharePoint Site that your SharePoint Document Library or SharePoint List resides. NOTE: This is not the direct link to your actual Library or List. Example: If my SharePoint Document Library resides on my FormEx site, the correct link will be: http://servername/sites/FormEx |
Inserting and configuring the Copy Attachments Plugin
- Add a Plugin Node to your workflow.
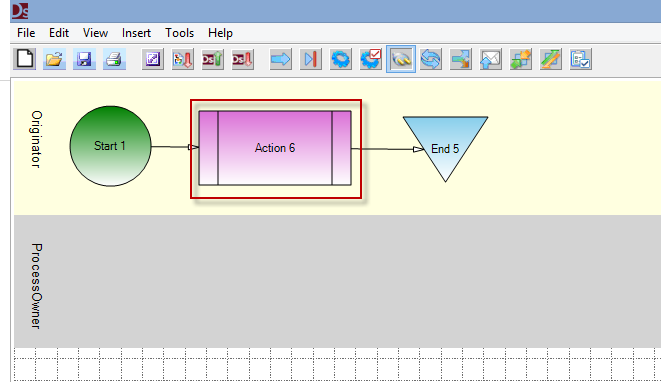
- Click the Plugin Node added in step 1 to select it.
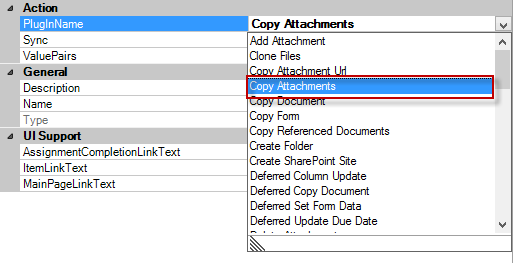
- In the Properties Pane, configure the Property PlugInName to Copy Attachments
- In the Properties Pane, under PluginName, select the ValuePairs Property.
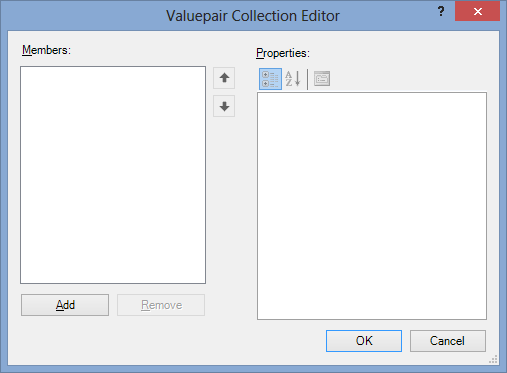
- Click Add to add a new argument.
- Select the Name property and select binding from the drop down.
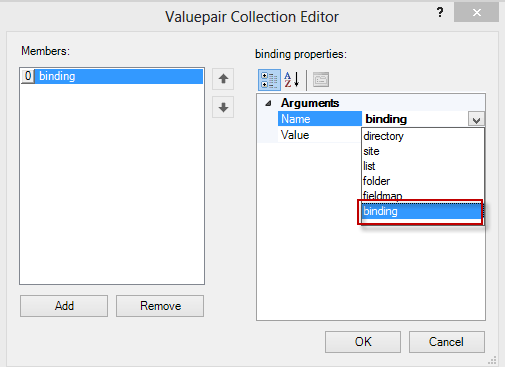
- In the Value field, insert the binding for your Ws.Attachment Control.
- Click Add to add a new argument.
- Select folder from the Name Property
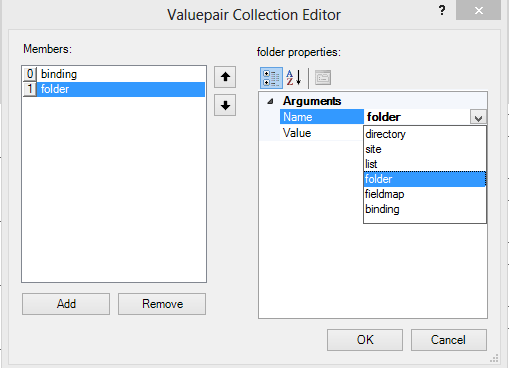
- Set the Value Property to the name of the Folder in your SharePoint Document Library or List.
- Click Add to add a new argument..
- Select site from the Name Property
- Set the Value property to the site where your SharePoint Document Library or List resides. (This is not the direct link to your SharePoint Document Library or List)
- Click Add to add a new argument.
- Select list from the Name Property
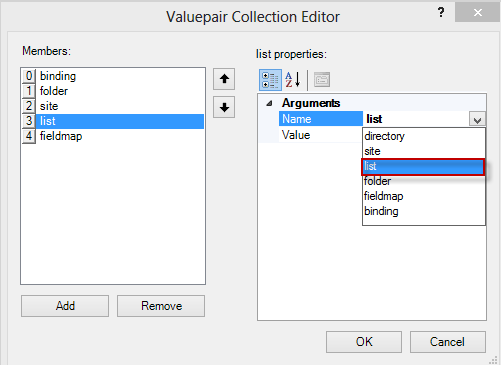
- Enter the name of your SharePoint Document Library or List
- Click Add to add a new argument.
- Select fieldmap from the Name Property
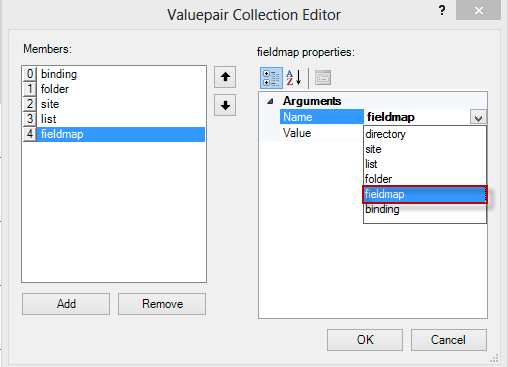
- In the Value property, insert a comma separated list (if more than one field will be passed) of field names that you would like to pass to the SharePoint Column(s).
Syntax Help
Correct Format: TheSharePointColumn=[XPath of form field]
If you do not know your XPath, you may right click in the Edit Value window and select Fields. You will then be presented with a list of fields.
aColumn is a column in MyDocumentLibrary that I want to pass the value of the form field AttachmentTitle to.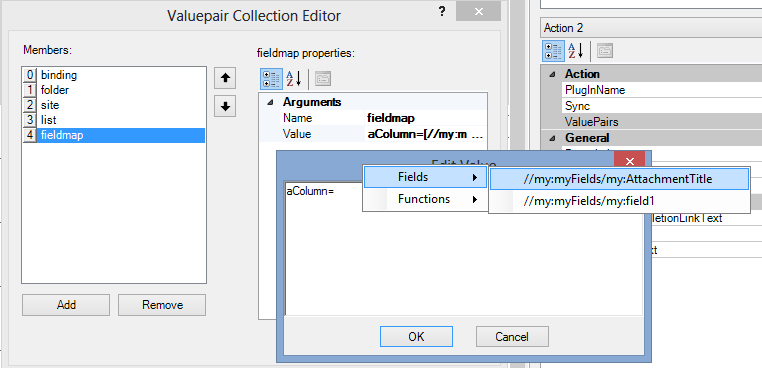
- Publish the Solution to your FormEx Site.
 Trademarks