 Home
Home Help Center
 Support
 Print
Print Feedback
Copy Attachment URL
Back to
Related topics
Looking for Winshuttle Composer Plugins?
With the Copy Attachment URL plug-in, you can copy a URL to an attachment in a specified Ws.Attachment Control and place it into a SharePoint List or Document Library.
Download example (.wssln file)
Copy Attachment URL properties
Property | Description |
binding | The binding to the Ws.Attachment Control in your form. Example: my:AttachmentControl |
description | The description to use in the Link that will be delivered to the SharePoint Column. Example: This is my weekly status report. |
field | The name of the SharePoint Column in which the URL will be written to. Example: MySharePointColumn |
list | The name of your SharePoint Document Library or List where the URL will be written to. If the value is not provided, it will default to the Current Items list. |
query | The Query to run on the destination list to write to a specific line item Example: [MySharePointColumn]==@[MyInfoPathField] |
site | The URL of the Site where the specified destination list is held. This is not the direct link to the actual SharePoint List or Document Library. Example: http://servername/sites/FormEx |
Inserting and configuring the Copy Attachment URL Plugin
- In Designer, add a Plugin Node to your workflow.
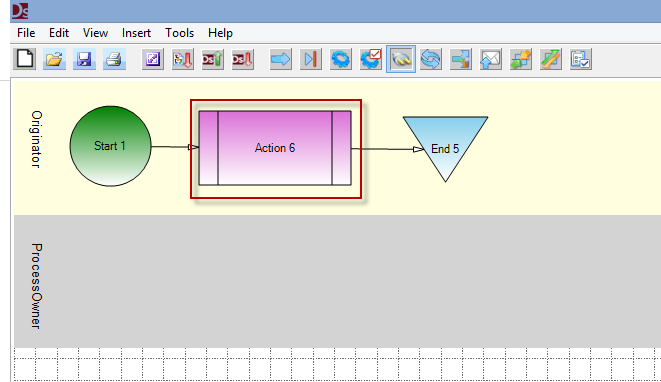
- Select the Plugin Node added previously.
- In the Properties Pane, configure the Property PlugInName to Copy Attachment URL
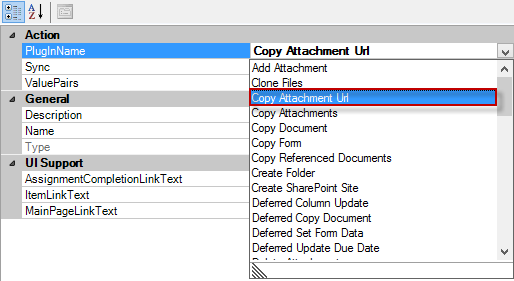
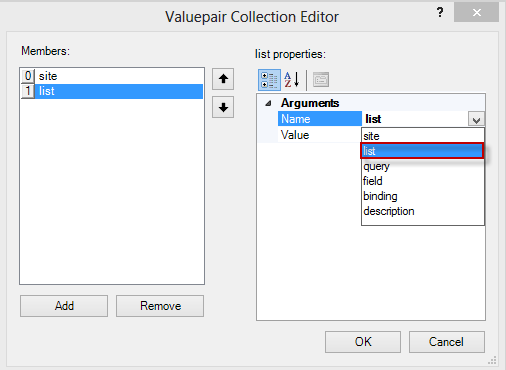
- In the Properties Pane, below the PluginName property, select the ValuePairs.
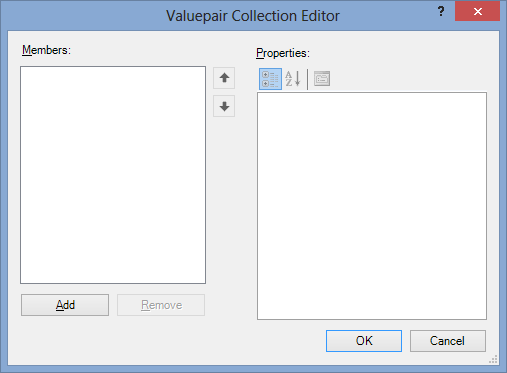
- Select the Name property and select site from the drop down.

- In the Value field, enter the URL to the SharePoint Site where the SharePoint List/SharePoint Document Library resides.
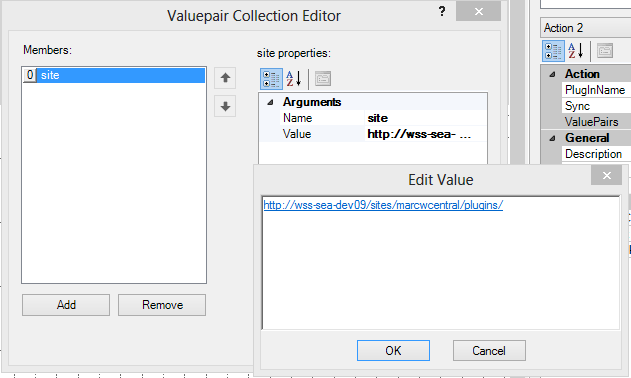
- Click Add to add a new argument.
- Next to the name Property, click the arrow and then select list.
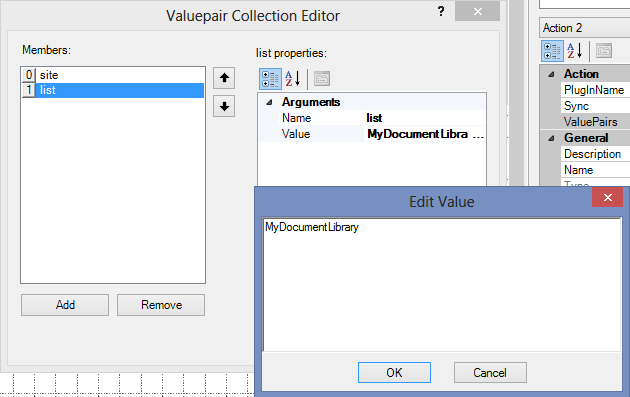
- In the Value field, enter the Name of the SharePoint Document Library/SharePoint List as it appears in SharePoint. Click OK.
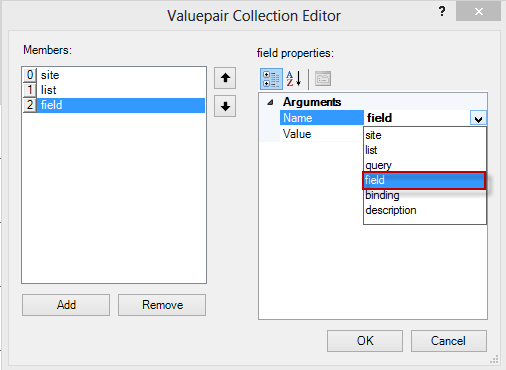
- Click Add to add a new argument.
- Next to Name, click the arrow, and then select field.
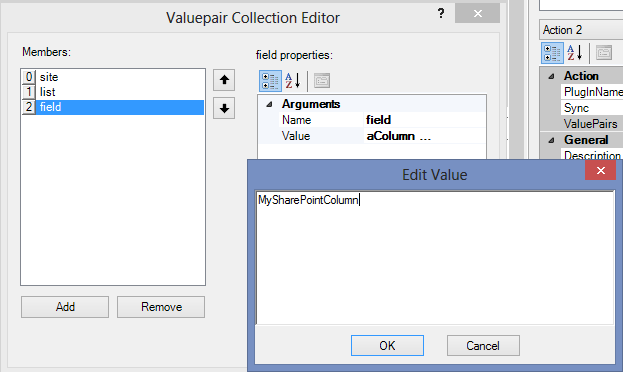
- In the Value field, enter the Name of the SharePoint Column to which the URL will be written.
- Click Add to add a new argument.
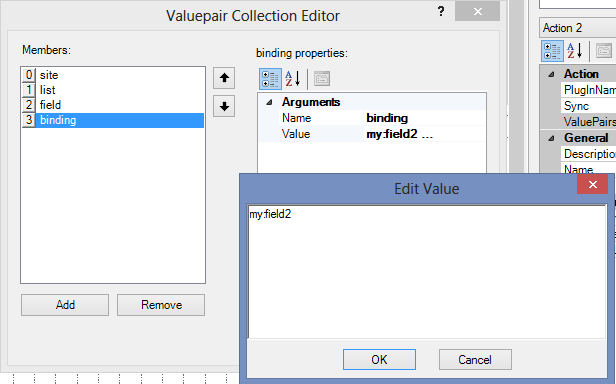
- Next to Name, click the arrow, and then select binding.
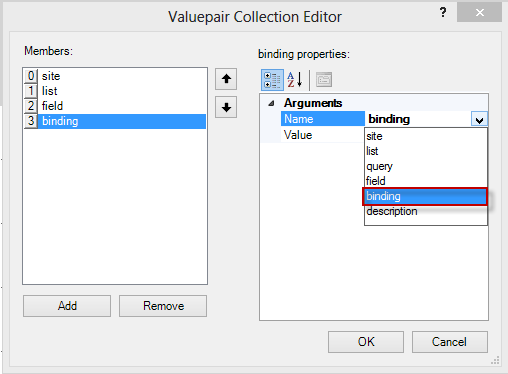
- In the Value Property, enter the binding of the Ws.Attachment Control in your form.
- Click Add to add a new argument.
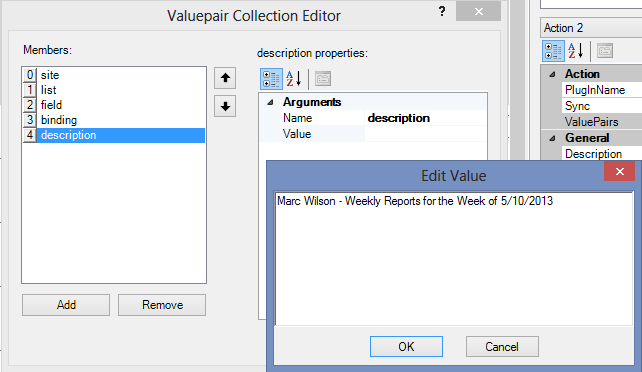
- Next to Name, click the arrow and then select description.
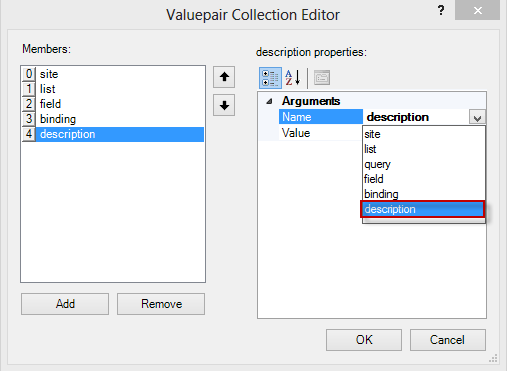
- In the Value field, enter a description for the URL.
- Click OK, and then and Publish your Winshuttle Solution.
 Trademarks