 Home
Home Help Center
 Support
 Print
Print Feedback
Migrating SharePoint Lists
Designer solution migration
It is very common for a Winshuttle Solution to use a SharePoint List or Library as a data connection within a form to populate items such as drop down lists or filtered data. Each SharePoint Data Connection within a form is referenced by a Connection String or a specific SharePoint URL. Once the form is moved, that connection is cut.
Before migrating a Winshuttle Solution, it is recommended that you migrate SharePoint Lists or any other data connections before you migrate the solution.
- Migrating SharePoint Lists and Libraries is a generally straightforward process. Microsoft SharePoint provides an option to export/import a list to and from a Microsoft Excel spreadsheet. This process is described below.
- Navigate to the SharePoint List in which you would like to migrate. You will need a minimum of SharePoint Read Permissions to Export the SharePoint List to Microsoft Excel.
- On the ribbon, click the List tab.
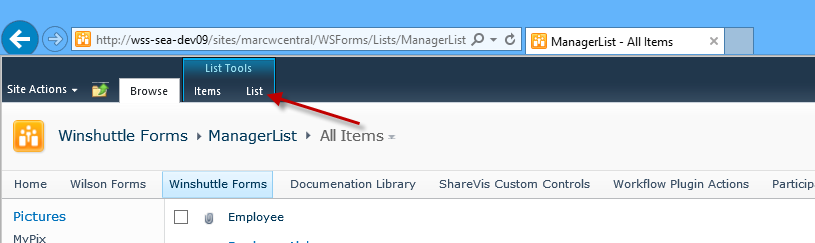
- Click Export to Excel.

- Click Save to save the Excel Spreadsheet to your desktop. After you have saved the file, navigate to your new Winshuttle Forms Site to which you are migrating the SharePoint List.
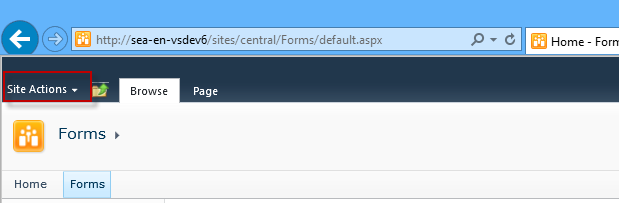
- From your Winshuttle Forms Site, on the ribbon, click Site Actions.
Note: You must have at the very least SharePoint Design Permissions to be able to create or import a SharePoint List.
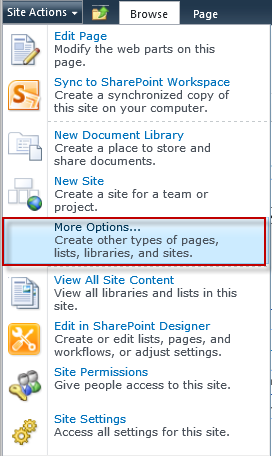
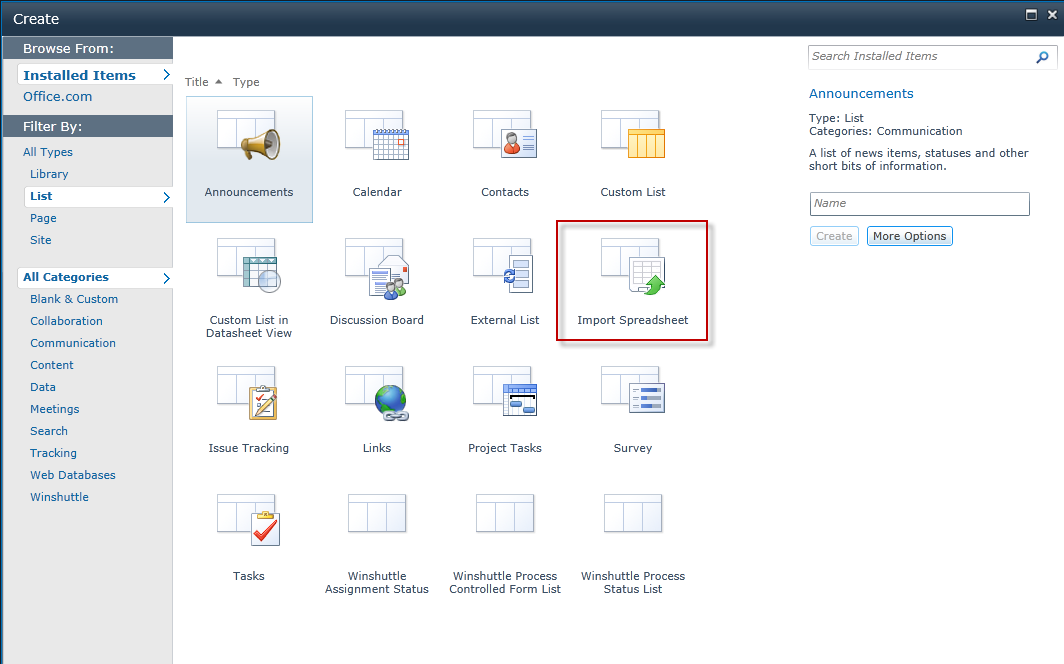
- On the Site Actions Menu, click More Options.
- Below Filter By, click List.
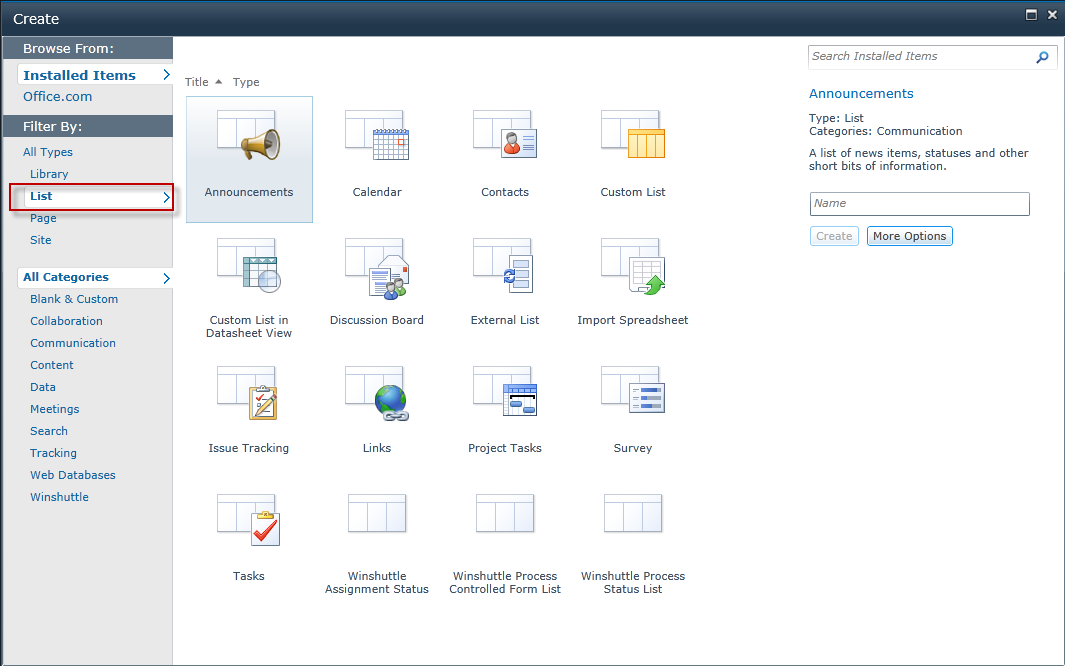
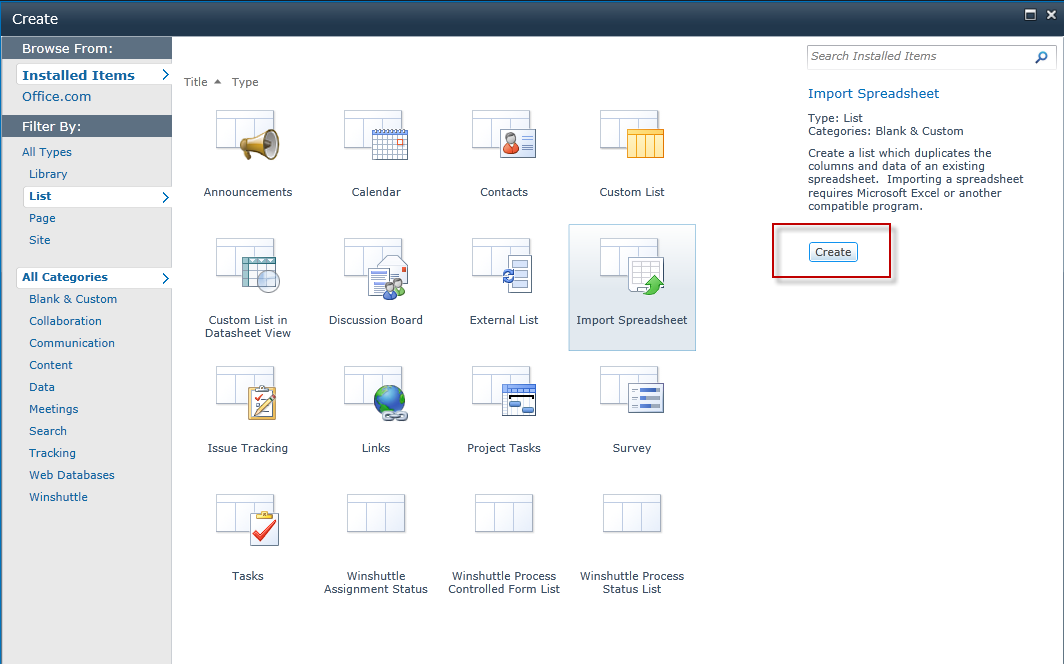
- Click Import Spreadsheet.
- Click Create.
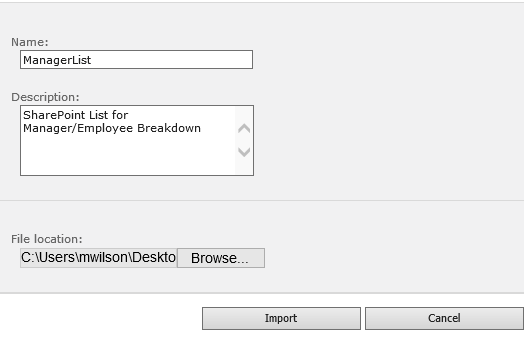
- In the Name Text Box, enter the name for your SharePoint List.
Recommendation: Keep the same naming convention that you used in the SharePoint List that you are migrating from.
If you would like to create a new name for the SharePoint list, it is best not to use spaces in the name because SharePoint will replace the Spaces with a ‘%20’ in your SharePoint link. - In the Description Text Box, type a description of what the list is for (optional).
- In the File Location field, browse to the Excel spreadsheet previously exported from SharePoint in steps 1-4.
Note: If you are having trouble locating the file, look for a file with an *.iqy extension.
- Click Import. Microsoft Excel will launch the downloaded Spreadsheet with a dialog box asking you to select the range of the spreadsheet. There should only be one option for this action. Make sure the entire table (Spreadsheet) is selected.
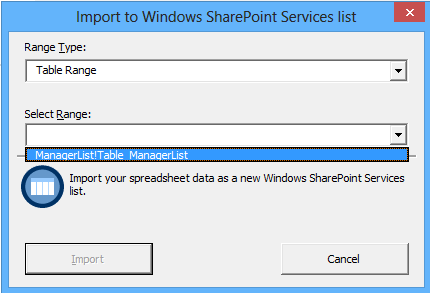
- Click Import.
Your SharePoint List has been migrated.
 Trademarks