 Home
Home Help Center
 Support
 Print
Print Feedback
Step 6: Create a Basic Workflow and Publish Solution
More information
For this step we'll use Winshuttle Designer to create a very simple workflow with 1 start node and 1 end node.
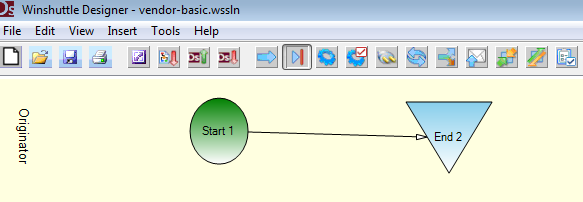
- In Designer, in the right-hand pane, first give the Workflow a name. In the example below, we're naming the workflow Create Vendor Basic.

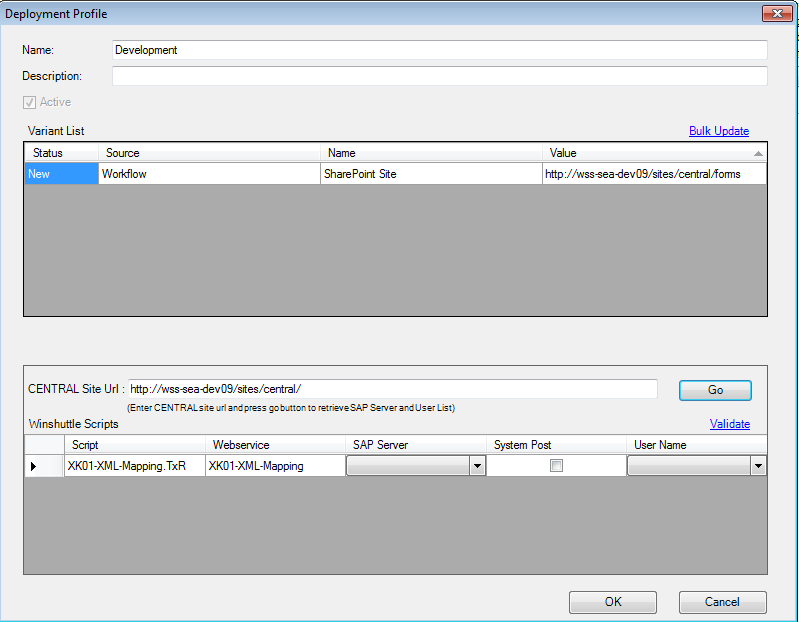
- Create a solution deployment profile. Type in the appropriate SharePoint forms site and Central site for your solution. See below for an example.

- Publish the solution. From the Designer menu bar, click File, and then click Publish Workflow.
 Trademarks