 Home
Home Help Center
 Support
 Print
Print Feedback
Step 5: Customize email notifications
More information
In this step we will customize some of the automated email notifications that are sent during the workflow process.
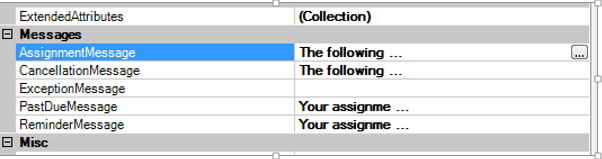
In Winshuttle Designer, you can edit assignment messages in the Properties Pane. Click the options button [...] next to the message to edit the default message. |
|
Here we are editing the assignment text in the text box editor. See below for basic examples for the Assignment, Past Due, and Reminder messages. |
|
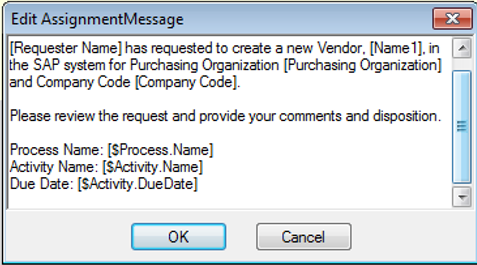
Assignment Message:
[Requester Name] has requested to create a new Vendor, [Name1], in the SAP system for Purchasing Organization [Purchasing Organization] and Company Code [Company Code]. Please review the request and provide your comments and disposition. Process Name: [$Process.Name] | |
| |
|
Past Due Message
Your assignment is past due on [$Assignment.DueDate] [Requester Name] has requested to create a new Vendor, [Name1], in the SAP system for Purchasing Organization [Purchasing Organization] and Company Code [Company Code]. Please review the request and provide your comments and disposition. Process Name: [$Process.Name] | |
| |
|
Reminder Message
Your assignment is due on [$Assignment.DueDate] [Requester Name] has requested to create a new Vendor, [Name1], in the SAP system for Purchasing Organization [Purchasing Organization] and Company Code [Company Code]. Please review the request and provide your comments and disposition. Process Name: [$Process.Name] | |
| |
|
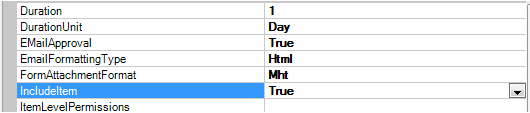
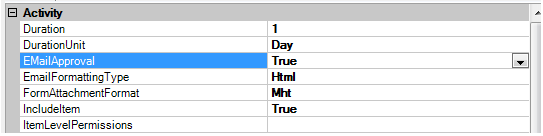
We also need to set some properties in the workflow.
Setting IncludeItem to true includes the form as an attachment to the email. |
|
Setting EmailApproval to true enables email approvals. |
|
 Trademarks