 Home
Home Help Center
 Support
 Print
Print Feedback
You are here: Getting Started > Tutorials > Tutorial 2: Creating a form with SAP Web services > T2-2. Create a workflow solution
Tutorial 2–Step 2: Create a workflow solution
Tutorial 2: Creating a form with SAP Web services
- Open Winshuttle Designer.
- On the Designer menu bar, click File, New, and then Workflow Solution for Forms.
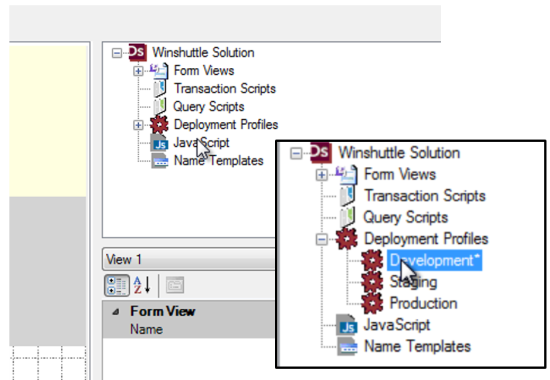
- In the upper right pane, right-click Deployment Profiles, and then click Edit.
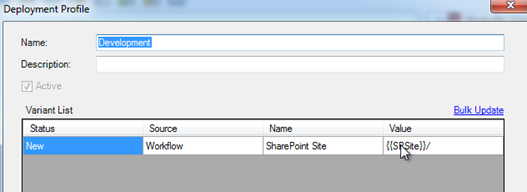
- Now you need to configure your Form Workflow site (the site where you're publishing your form to). Open a Web browser and go to your Form Workflow site. Copy the URL (Ctrl+C) from your browser's address field, and then paste (Ctrl+V) it into the Value field.
- Configure the Central Site URL. In a Web browser, navigate to your Winshuttle Central site. Copy (Ctrl+C) the URL from the browser's address field, and then paste (Ctrl+V) it into the CENTRAL Site URL field.
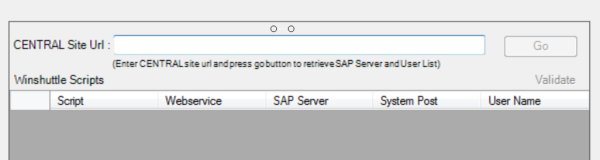
- Click Go. This will verify your login to Winshuttle Central.
- Click OK.
 Trademarks