 Home
Home Help Center
 Support
 Print
Print Feedback
You are here: Getting Started > Tutorials > Tutorial 2: Creating a form with SAP Web services > T2-6. Insert a custom control to call the Web service
Tutorial 2–Step 6: Insert a custom control to call the Web service
Tutorial 2: Creating a form with SAP Web services
In InfoPath, on the Ribbon, click the Home Tab.
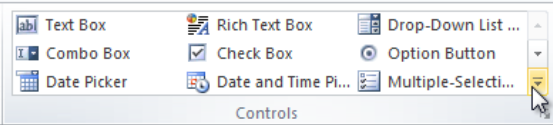
On the Ribbon, in the Controls section, click the arrow to view all controls.
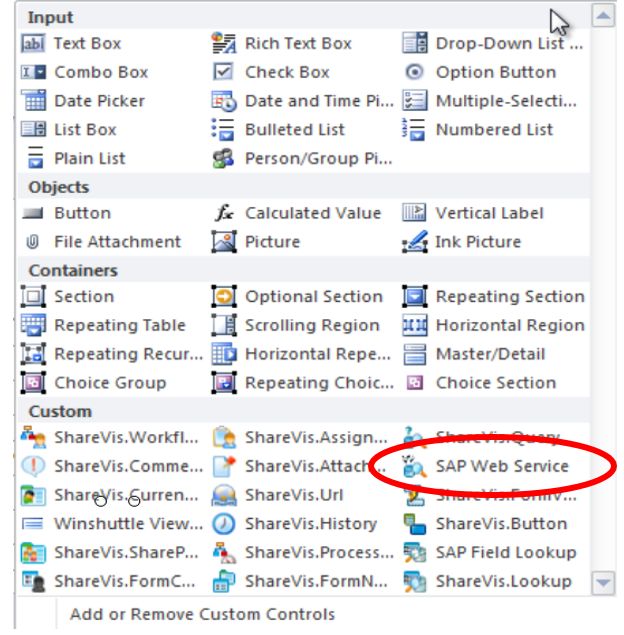
- Click the SAP Web Service control to insert it into your form. This will insert a blank control into your form, which you'll configure in the next step.
- Right-click the field inserted in step 3, and then click SAP Web Service Properties.
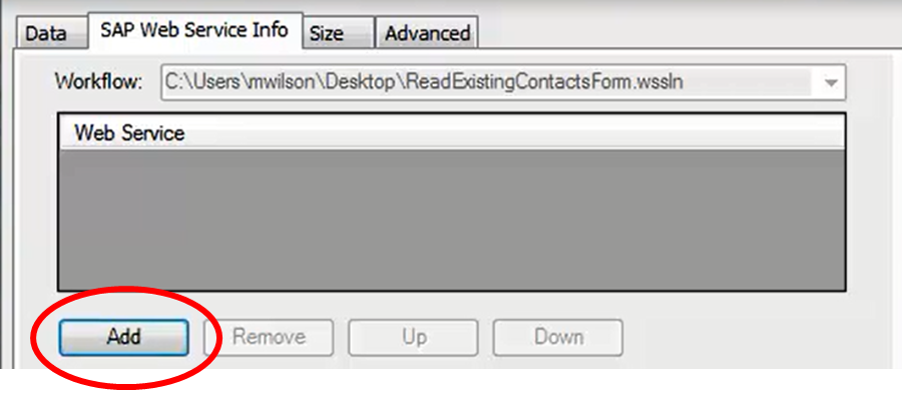
- Click the SAP Web Service Info tab, and then click Add.
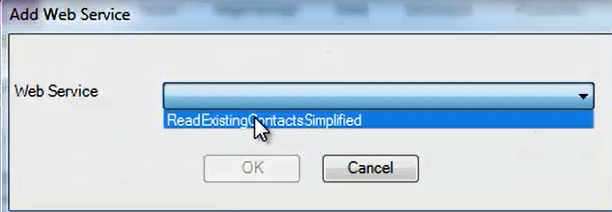
- In the Web Service field, click the arrow to open the menu, and then select the service you wish to bind to the button. (The example below shows only 1 Web Service.) Click OK.
- The Web service you selected in the previous step should now appear in the Web Service field. Click the added Web service to view the properties for it, as show in the example below.

- Configure your Run Options. Run options determine when the Web service is run. The most common and recommended Run option is When button is pressed, but is dependent upon the type of Web service you are configuring.
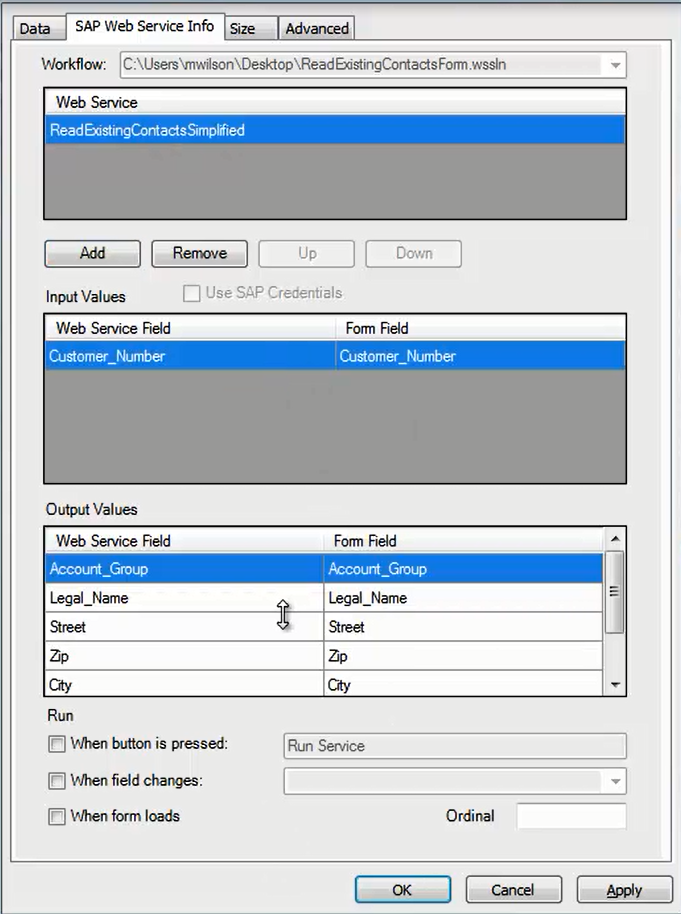
- If you selected When button is pressed, type a name in the field to the right of the selection. This name will serve as the name for the button.
- On the InfoPath Ribbon, click File, and then click Save to save your form.
- Close InfoPath.
 Trademarks