 Home
Home Help Center
 Support
 Print
Print Feedback
Tutorial 1–Step 4: Creating the Workflow
Tutorial 1: Creating a Time Off Request Form
- Creating a form workflow site
- Creating the form solution
- Creating development profiles
- Creating the workflow
- Submitting solutions for approval
- Publishing the Solution
- Starting a new form and process
- Completing the task assignment
- Viewing task history
- Assigning unique form names
- Adding requester name and date
- Adding email notifications
- Configuring autopost
In this step, Steve Designer will create a workflow that AlphaOne Bank employees can use to initiate Time Off Requests and route them to management for approval. This workflow will include three steps (nodes):
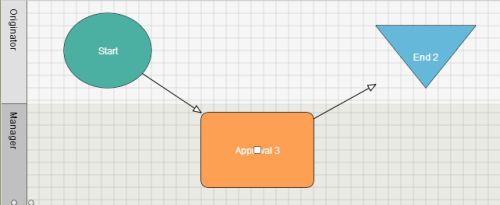
- Start Node—The start of the Time Off Request workflow, initiated by an employee.
- Approval Node—The assignment in which a manager must either approve or reject the Time Off Request.
- End Node—End of the workflow when the request is marked as either approved or rejected.
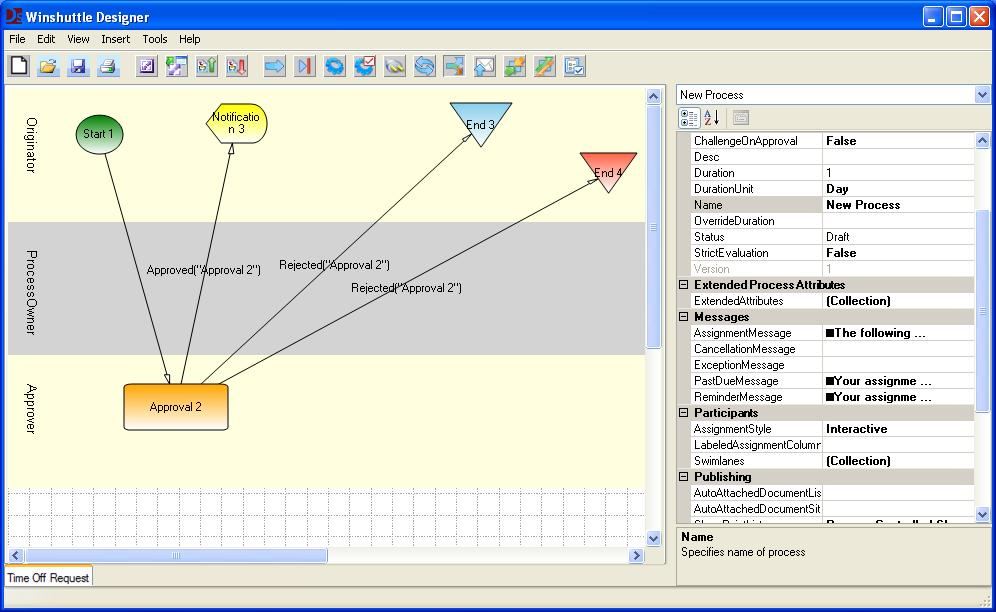
Creating the Time Off Request workflow
- When you published the Time Off Request solution in the previous section, a new workflow was started. In the Participants section of the Properties pane, click the SwimLanes box.
- Click the button to the right of the SwimLanes box.
The Swimlane Collection Editor dialog box appears. By default, every process automatically includes two swimlanes—Originator and Process Owner—which appear in the canvas area and in the Swimlane Collection Editor dialog box.
NOTE: Every workflow must have the Originator and Process Owner swimlanes. Do not delete these swimlanes.NOTE: We recommend that the SVService should not be run under the SharePoint System Account user identity.
In this example, the Originator is the employee who will initiate a Time Off Request. You must also add another swimlane that represents the manager who will be assigned the task of approving or rejecting the request.
- Click Add to add the Manager swimlane is added to the canvas..
- In the Properties Pane, in the Participants section, click the Name box, and then type Manager.
- In the Properties Pane, in the Participants section, click the SiteGroup box.
A drop-down arrow appears to the right of the box.
- Click the drop-arrow, and then select the SharePoint group from which you want to choose the manager.
- Click OK.
- On the toolbar, click Start.
- On the Canvas, in the Originator swimlane, drag to add a Start Node.
- On the toolbar, click the Approval button.
- On the canvas, in the Manager swimlane, drag an Approval Node.
- On the toolbar, click the End button.
- In the Originator swimlane on the canvas, drag to add an End Node.
- In the Activity section of the Properties pane, select Approved from the drop-down menu.
- In the Originator swimlane on the canvas, drag to add a second End Node.
- In the Activity section of the Properties pane, select Rejected from the drop-down menu.
- Click inside the Start 1 Node, drag to the center of the Approval 2 Node. The Transition should now connect the Start 1 Node and the Approval 2 Node.
- Click inside the Approval 2 Node, drag to the center of the End Node 3 (the first End Node you created). A Transition should now connect the Approval 2 Node to the End Node 3.
- Right-click the Transition between the Approval 2 Node and End Node 3, and then select Approved.
- Click inside the Approval 2 Node, and then drag to the center of the End Node 4 (the second End Node you created).
- Right-click the Transition between the Approval 2 Node and End Node 4, and select Rejected
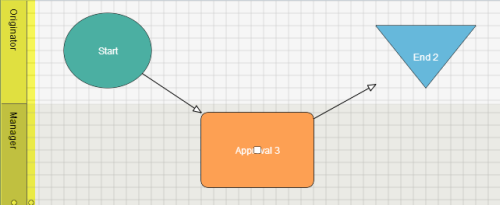
Your workflow should now look like this:
- On the File menu, click Save Solution.
NOTE: If you need to delete a transition, select the transition, and then press Ctrl+Delete.
 Trademarks