You are here: Getting Started > Tutorials > Tutorial 3: Building advanced forms and workflows > T3-1. Build a form
Tutorial 3–Step 1: Build a form in InfoPath
Tutorial 3: Building an advanced from and workflow
- Build a form in InfoPath
- Add and change swimlanes
- Create a starting workflow
- Publish the form
- Create an intermediate workflow
- Create Manager and HR form views
- Add functions for form logic
- Create an advanced workflow
- Create a SharePoint list and data connection
- Use transitions and promote fields
- Publish Transaction script as a Web service
- Add custom controls to InfoPath
- Configure custom controls in InfoPath
- Configure custom controls in InfoPath (advanced)
This tutorial starts with creating an InfoPath form.
- Open Winshuttle Designer
- Click File, point to New, and then point to Workflow Solution for Forms
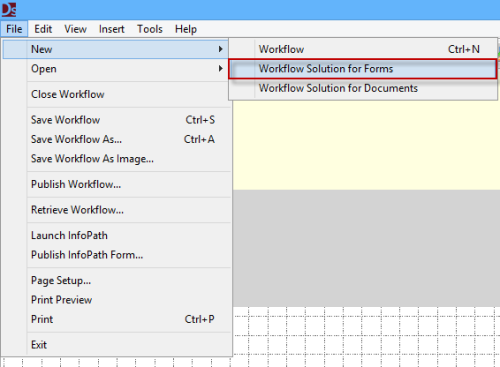
- Click the Save icon, and then save your Winshuttle Solution with the name Time Off Request.
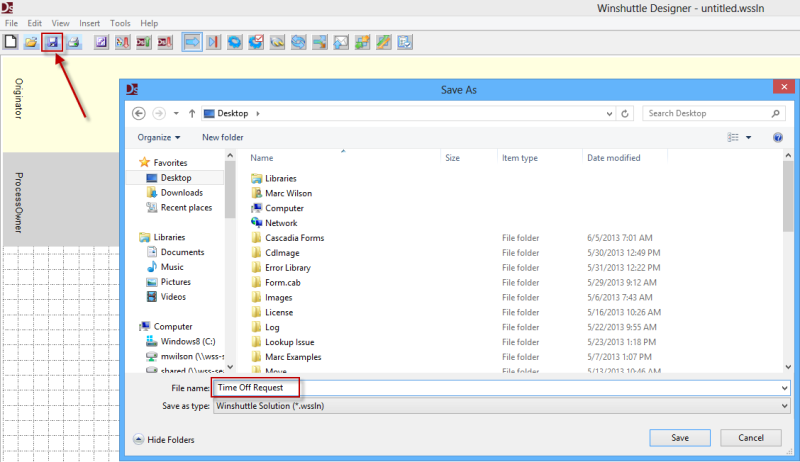
- In the Winshuttle Solution Tree Window, expand Deployment Profiles, and then double-click Development.
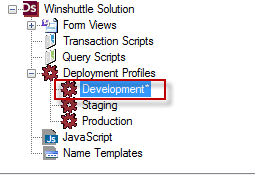
- Under Variant List in the Value column, replace {{SPSite}}/ with the URL for your SharePoint Forms Site.
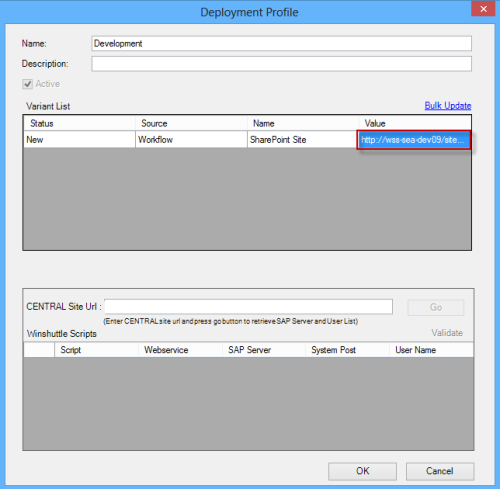
- In the CENTRAL Site URL field, enter the URL to your Winshuttle CENTRAL Site.
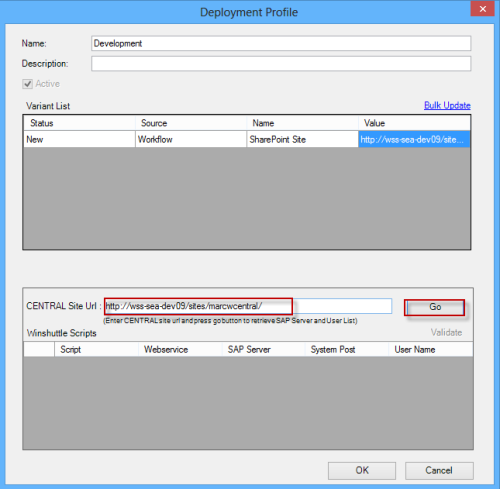
- Click Go, and then click OK.
- Click in the Canvas area so the Top Level Properties appear on the right hand side.
- In the SharePointSite Property, enter the URL to your SharePoint Forms Site. (This will be the same link you entered in Step 5)
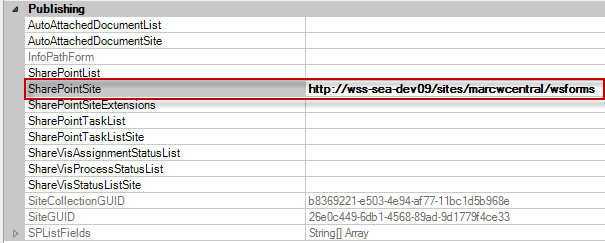
- On the toolbar, click Save to save your changes.

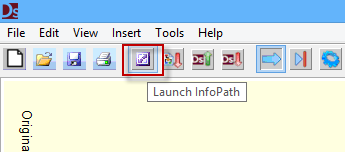
- Ont he toolbar, click Launch InfoPath to launch Microsoft InfoPath.
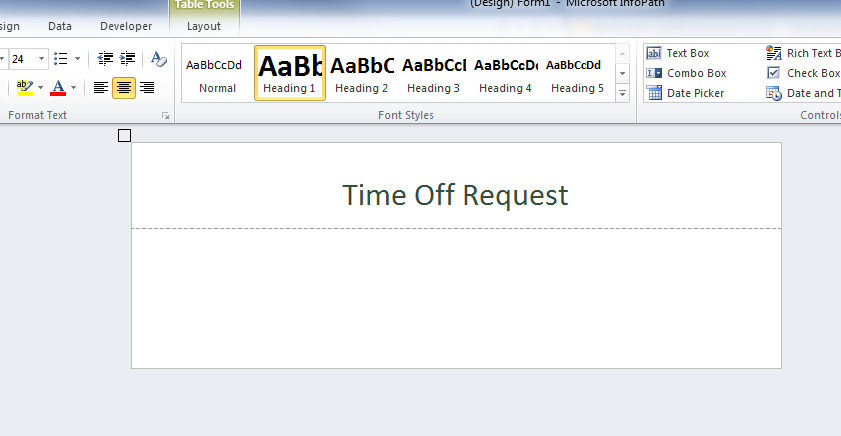
- In the header section of the layout table, enter the following title for your form: Time Off Request
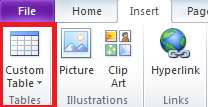
- Click Custom Table and insert a 2x6 table into the main body of the form.
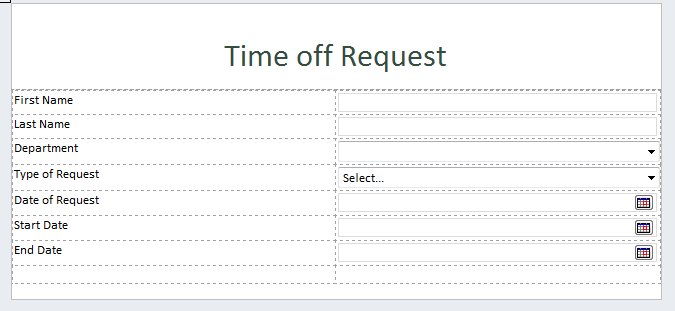
- In the left side of the table, enter the following labels on each row: First Name, Last Name, Type of Request, Date of Request, Start Date, and End Date.
- In the right-hand side of the table, add the controls listed in the following table: (See example following the table)
Field Label
Control Type
First Name
Text Box
Last Name
Text Box
Type of Request
Drop Down List Box
Date of Request
Date Picker
Start Date
Date Picker
End Date
Date Picker
- Rename all controls according to the table below
Field Label
Field Name
First Name
FirstName
Last Name
LastName
Type of Request
TypeOfTime
Date of Request
DOR
Start Date
Start
End Date
End
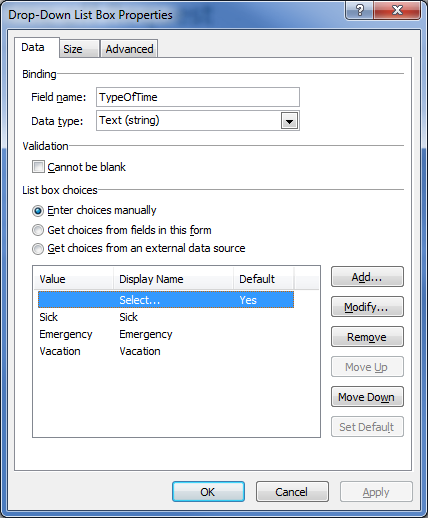
- Add the following choices to the Drop Down List Box "Type of Request."
- Sick
- Emergency
- Vacation
- Save your form
 Home
Home Help Center
 Support
 Print
Print Feedback
 Back to top
 Trademarks