 Home
Home Help Center
 Support
 Print
Print Feedback
Tutorial 3–Step 3: Create a workflow
Tutorial 3: Building an advanced from and workflow
- Build a form in InfoPath
- Add and change swimlanes
- Create a starting workflow
- Publish the form
- Create an intermediate workflow
- Create Manager and HR form views
- Add functions for form logic
- Create an advanced workflow
- Create a SharePoint list and data connection
- Use transitions and promote fields
- Publish Transaction script as a Web service
- Add custom controls to InfoPath
- Configure custom controls in InfoPath
- Configure custom controls in InfoPath (advanced)
In this step you will create a starting workflow with nodes and transitions.
This workflow will form the basis for later steps in the tutorial.
Adding Nodes
A node is a point within a workflow that represents a step in a business process, such as a task or activity, a decision, or a request for approval. Nodes are assigned to participants by placing them within a corresponding swimlane in the Designer canvas. For some nodes, the swimlane placement is important. For other nodes, it is not. Each node has configurable properties that define the behavior of the node.
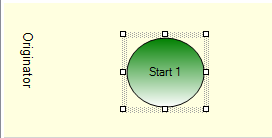
- On the Winshuttle Designer toolbar, click the Start icon.

- In the Winshuttle Designer canvas, click-and-drag in the Originator swimlane.
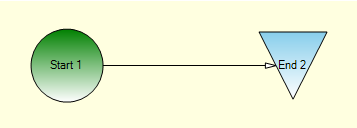
- On the Designer toolbar, click the End Node icon. In the Originator swimlane, click-and-drag to draw the end node.

- On the menu bar, click File, and then Save to save your changes.
Adding Transitions
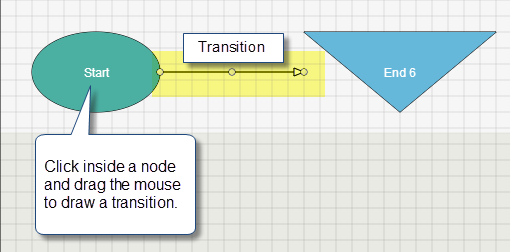
- Click in the center of the Start Node and drag your mouse to the End Node.
Observe the transition between the Start Node and End Node. A transition edge appears, connecting the nodes. In the example below, the Start Node is connected to the End Node. The transition edge includes an arrow, which represents the direction of the flow from one node to the next, and handles that you can click-and-drag to move the transition on the canvas.
- On the menu bar, click File, and then click Save to save your changes.
 Trademarks