 Home
Home Help Center
 Support
 Print
Print Feedback
You are here: Getting Started > Tutorials > Tutorial 3: Building advanced forms and workflows > T3-2. Add and change swimlanes
Tutorial 3–Step 2: Add and configure swimlanes
Tutorial 3: Building an advanced from and workflow
- Build a form in InfoPath
- Add and change swimlanes
- Create a starting workflow
- Publish the form
- Create an intermediate workflow
- Create Manager and HR form views
- Add functions for form logic
- Create an advanced workflow
- Create a SharePoint list and data connection
- Use transitions and promote fields
- Publish Transaction script as a Web service
- Add custom controls to InfoPath
- Configure custom controls in InfoPath
- Configure custom controls in InfoPath (advanced)
- Start Winshuttle Designer.
- In the Properties Pane, in the Participants area and next to Swimlanes, click the […] button to the right of the Swimlanes property.

- The Swimlane Collection Editor appears.
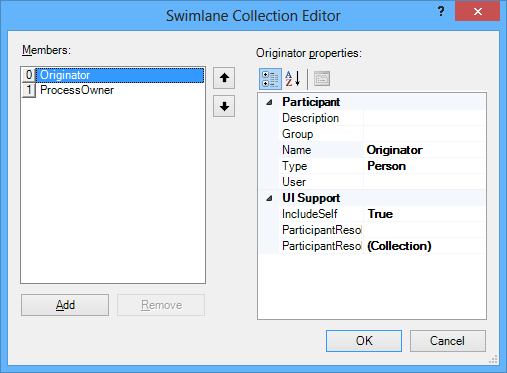
- The Members area lists the current swimlanes in your process. You can add as many swimlanes as needed to suit your workflow.
Swimlanes require that a participant (individual or group) be associated with them in order to assign tasks to a participant.Do not modify or delete the names of the Originator or ProcessOwner Swimlanes.
- Add the following swimlanes:
Name
Type
User
Manager
Person
(Select yourself)
HR
Person
(Select yourself)
- Rearrange the swimlanes so they are in the following order:
- Originator
- Manager
- HR
- ProcessOwner
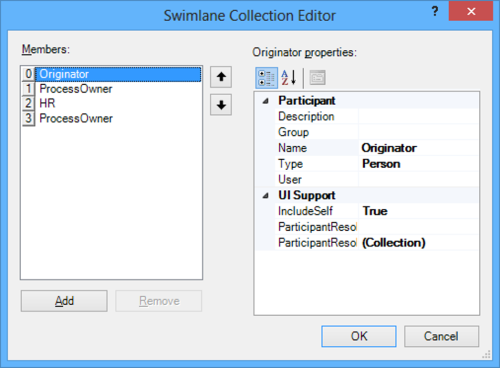
- Click OK and verify:
- the swimlanes appear in the canvas
- the swimlanes are in the correct order.
- Save your workflow.
 Trademarks