 Home
Home Help Center
 Support
 Print
Print Feedback
You are here: Getting Started > Tutorials > Tutorial 3: Building advanced forms and workflows > T3-9. Create a SharePoint list and data connection
Tutorial 3–Step 9: Create a SharePoint list and data connection
Tutorial 3: Building an advanced from and workflow
- Build a form in InfoPath
- Add and change swimlanes
- Create a starting workflow
- Publish the form
- Create an intermediate workflow
- Create Manager and HR form views
- Add functions for form logic
- Create an advanced workflow
- Create a SharePoint list and data connection
- Use transitions and promote fields
- Publish Transaction script as a Web service
- Add custom controls to InfoPath
- Configure custom controls in InfoPath
- Configure custom controls in InfoPath (advanced)
In this tutorial you will add a SharePoint data connection to your form. (Note that you will need to create a SharePoint list for this exercise. Consult your SharePoint documentation if you need assistance.)
Create the SharePoint list
- Create a SharePoint list called Department.
- Open the Time Off Request solution.
- On the Designer toolbar, click Launch InfoPath.
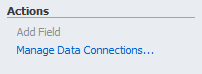
- In the Fields Navigation Pane, under Actions, click Manage Data Connections…
- In the Data Connections dialog box, click Add.
- The Data Connection Wizard starts. Make sure both Create a new connection to: and Receive data are selected, and then click Next.
- Select SharePoint library or list
- Navigate to the Department SharePoint list created at the beginning of this exercise.
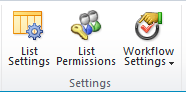
- On the Ribbon, in the Settings section, click List Settings.
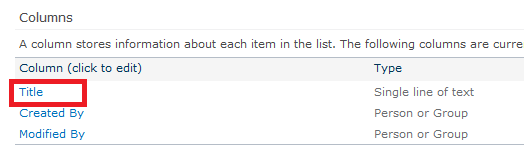
- In the Columns section, click Title
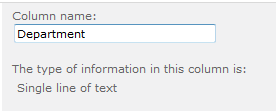
- Change the Column name from Title to Department, and then click OK.
- In the breadcrumbs navigation links, click Department to return to your list.

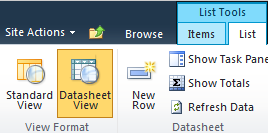
- On the ribbon, click List.
- On the left hand side under the View Format section, click Datasheet View.
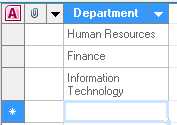
- Under the Department column, make the following 3 entries as shown below:
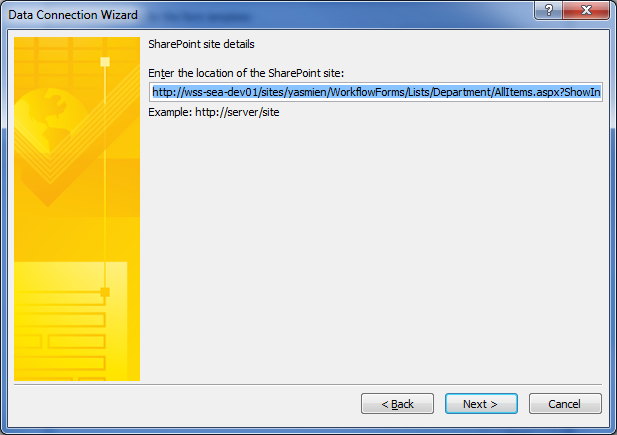
- After you have finished creating the entries, copy the hyperlink to your Department list from the browser address bar, and then return to your Time Off Request Form.
- Paste the link to your Department list into your SharePoint list in the text field, and then click Next.
- In the Select a list or library box, select your SharePoint list (Department), and then click Next.

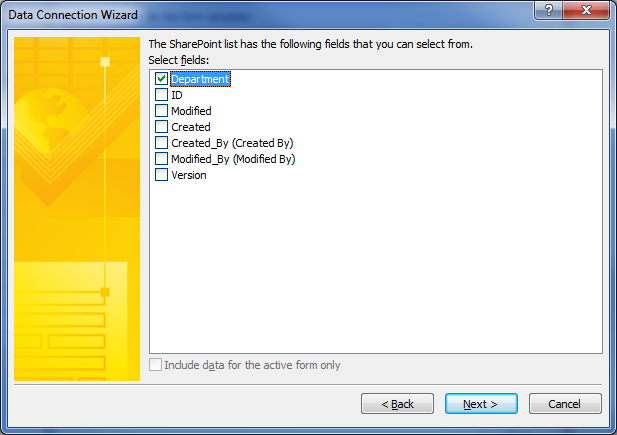
- In the Select Fields window, select the Department check box, and then click Next.
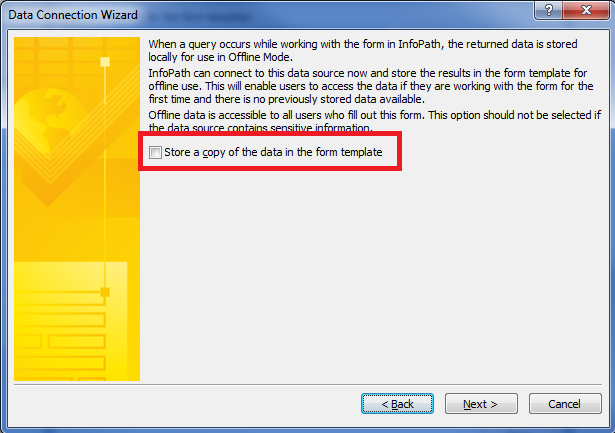
- Make sure Store a copy of the data in the form template is NOT selected, and then click Next.
- Select Automatically retrieve data when form is opened is selected.
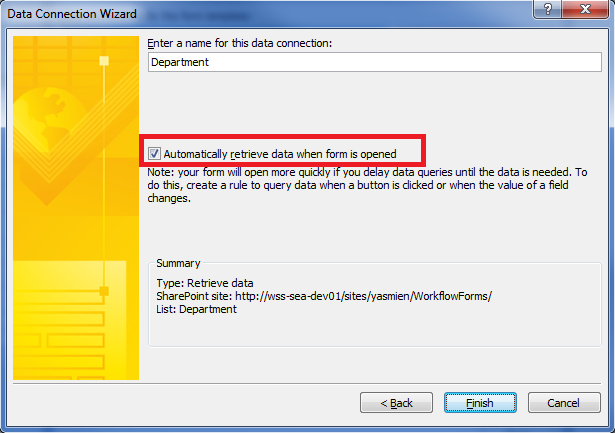
- Click Finish.
- Close the Data Connection window.
Connect your form to your SharePoint list
- In your Microsoft InfoPath form, insert another row under Full Name.
- In the left hand side, type the text Department and insert a Drop Down List Box in the cell to the right.
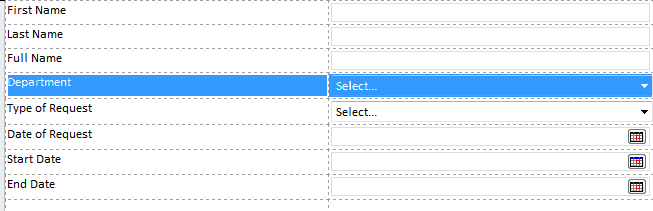
- Rename the new drop down list box to Department.
- Under List box choice, select Get choices from an external data source.
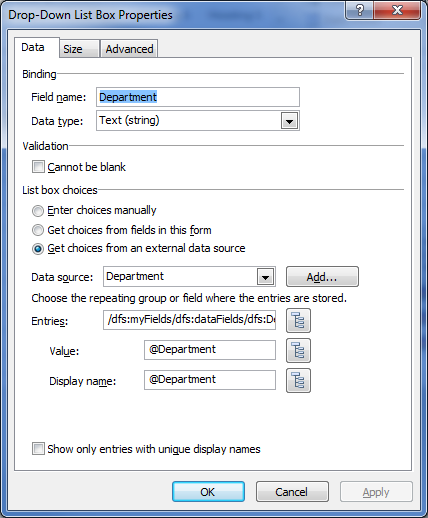
- Your data connection to the SharePoint List Department should be automatically populated.
- In the Entries field, click the Select XPath button (
 )
) - Expand the Department folder, click Department to select it, and then click OK.
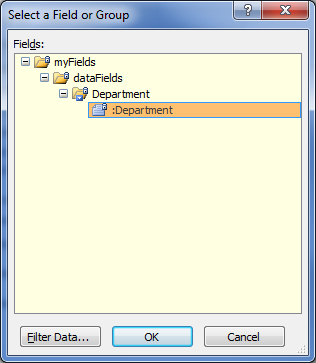
- Click OK.
- Save your form and then preview it.
 Trademarks