 Home
Home Help Center
 Support
 Print
Print Feedback
You are here: Getting Started > Tutorials > Tutorial 3: Building advanced forms and workflows > T3-6. Create Manager and HR form views
Tutorial 3–Step 6: Create Manager and HR form views
Tutorial 3: Building an advanced from and workflow
- Build a form in InfoPath
- Add and change swimlanes
- Create a starting workflow
- Publish the form
- Create an intermediate workflow
- Create Manager and HR form views
- Add functions for form logic
- Create an advanced workflow
- Create a SharePoint list and data connection
- Use transitions and promote fields
- Publish Transaction script as a Web service
- Add custom controls to InfoPath
- Configure custom controls in InfoPath
- Configure custom controls in InfoPath (advanced)
In this exercise you will create multiple form views so different workflow participants (in this case, a Manager and Human Resources) will only to see the parts of the form they require.
Create the Manager view
- In Winshuttle Designer, open the Time Off Request form created in Tutorial 1.
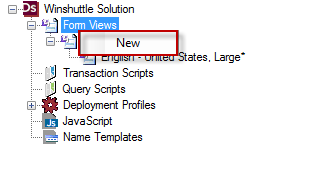
- In the Solution Tree Window, right-click Form Views and then click New.
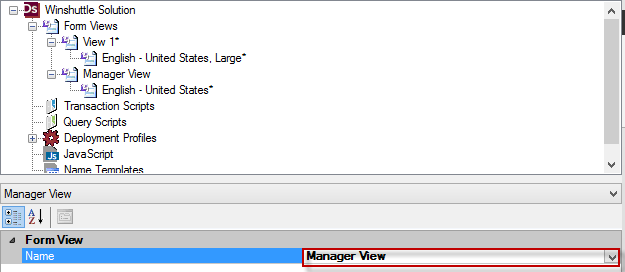
- In the Properties Pane, under Form View, click the Name Property, and then rename it Manager View.
Now that you've created a view for Managers, you will create a view for Human Resources (HR).
Create the Human Resources (HR) view
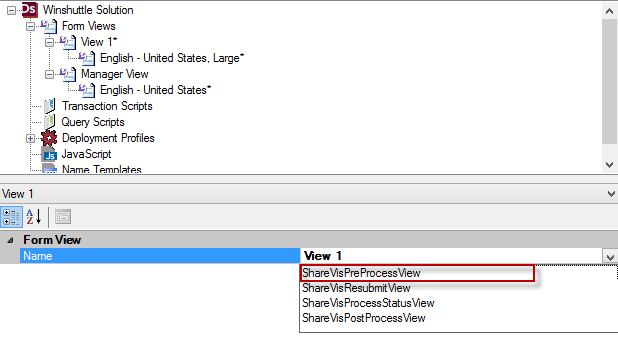
- In the Solution Tree Window, click View 1.
- In the Properties Pane, under Form View, click the drop arrow, and then select ShareVisPreProcessView.
- On the toolbar, click Save to save your changes.
- On the toolbar, click the Launch InfoPath icon.
- On the ShareVisPreProcessView, press Ctrl + A (select all).
NOTE: Do Not copy the Winshuttle View Info Custom Control (pictured below).

- Press Ctrl + C to copy the view.
- Navigate to the Manager View and press Ctrl + V to Paste the Contents of the ShareVisPreProcessView
- Repeat steps 5–7 for the HR View.
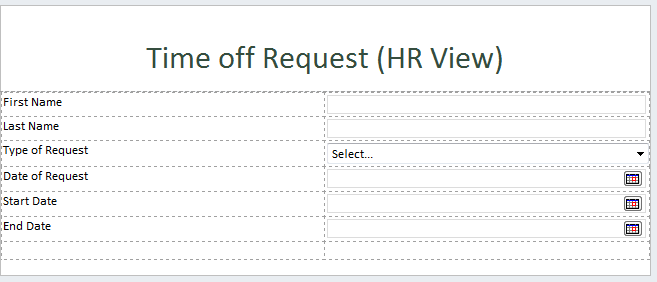
- For each view, replace/change the header Time Off Request with the name of the view (for example, HR View, Manager View, etc.)
You may keep the Time Off Request header there, just make sure that you modify it to display what view it is. See the following example:
- Save your form, and then close InfoPath.
- Return to the Time Off Request solution, and then save your changes.
- In Designer, in the Manager swimlane, click the Approval node..
- In the Properties Pane, next to FormView, click drop arrow, and then select Manager View.

- In the HR Swimlane, click the Approval node.
- In the Properties Pane, next to FormView, click drop arrow, and then select HR View.

- On the toolbar, click Save, and then click Publish to publish it.
 Trademarks