 Home
Home Help Center
 Support
 Print
Print Feedback
You are here: Getting Started > Tutorials > Tutorial 3: Building advanced forms and workflows > T3-13. Configure custom controls in InfoPath.
Tutorial 3—Step 13: Configure custom controls in InfoPath.
Tutorial 3: Building an advanced from and workflow
- Build a form in InfoPath
- Add and change swimlanes
- Create a starting workflow
- Publish the form
- Create an intermediate workflow
- Create Manager and HR form views
- Add functions for form logic
- Create an advanced workflow
- Create a SharePoint list and data connection
- Use transitions and promote fields
- Publish Transaction script as a Web service
- Add custom controls to InfoPath
- Configure custom controls in InfoPath
- Configure custom controls in InfoPath (advanced)
After completing this exercise, you will configure Designer custom controls, and use a published Web service with the SAP Web service control.
- Launch Winshuttle Designer, and then open the file from Exercise 11.
- Click Launch InfoPath.
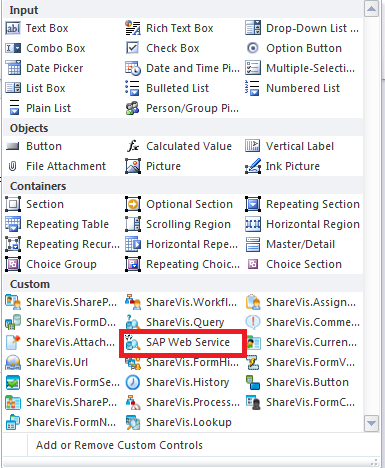
- On the InfoPath ribbon on the Home tab, in the Controls pane, click the More button to expand the controls pane

- Under Custom, select SAP Web Service.
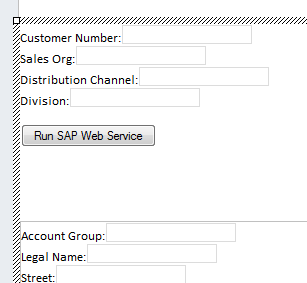
- Drag the SAP Web Service control to an appropriate position in your form.
This control will be rendered as a button that the user will click. We suggest placing it directly after the last step the user will take before clicking it.
- Right-click on the SAP Web Service control, and then select Properties.
- Click the Web Service Info tab.
- Click Add.
- From the Web Service drop down menu, select the Web service you published, and then click OK.
- In the Run section, check When button is pressed:
- Delete the text Run Service.
- Type the text Run SAP Web Service, and then click OK. (You can type any name you want; this text will be the text displayed on the button.)
- Save your form and close it.
- Open Winshuttle Designer, and then click Publish to publish your form.
- After your form has been successfully published, open your Forms Site in a Web browser.
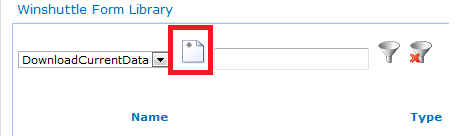
- In the Winshuttle Form Library section, select your form from the drop down menu.
- Launch your form by clicking the paper (form) icon.
- Test your form by entering the correct data, and then clicking the Run SAP Web Service button.
 Trademarks