Applies to:
- Winshuttle Foundation
5-2. Add workflow participant lookup
Back to
Steps in this phase
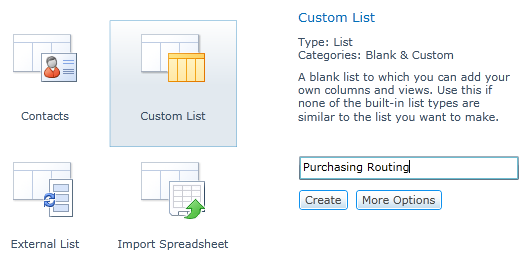
For this step in development we will configure the form to look up 2 additional workflow participants from a SharePoint list: a Purchasing Manager and an Accounting Manager. First, a custom SharePoint list that will contain the Purchasing Organization and the Purchasing Manager will be created.
On this page
- Create data connections
- Add workflow participant elements
- Add participant fields to the form
- Configure the workflow participants
- Create a rule to automate selection
Note that this is dependent upon the creation of SharePoint lists, which is beyond the scope of this tutorial. See Microsoft's tutorial SharePoint Lists IV: Create Custom SharePoint Lists for more in-depth information about this process.
The SharePoint list will have the following properties:
|
|
This will enable the form to look up the appropriate Purchasing Manager based upon the Purchasing Organization. For example, if the Purchasing Organization is in Denmark, then the Purchasing Manager in Denmark will be assigned as a workflow participant.
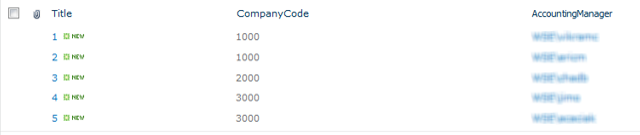
The end result will look something like this:

And the same procedure is also used to create an Accounting Routing List, which is shown below for illustrative purposes.
With the lists in place, adding a SharePoint lookup is much the same as in the previous step.
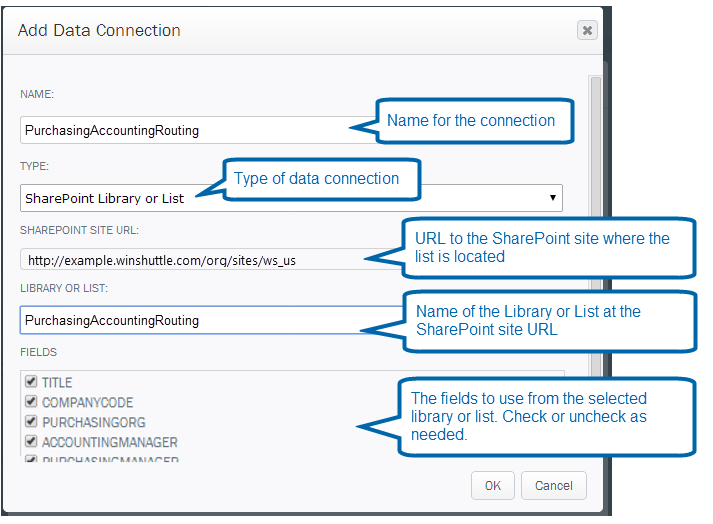
Create data connections
With the SharePoint lists for Purchasing and Accounting created, the next step is to connect the necessary form fields to the SharePoint lists through data connections, just as we did in Phase 4, step 4-3: Connect form drop-down lists to SharePoint lists.) Then we will add a rule that essentially tells the form that when the Company Code field is changed, get the accounting manager from the Company code list.
For additional information on data connections, see Adding data connections for instructions on how to run the appropriate Wizard in Composer to set them up.
|
|

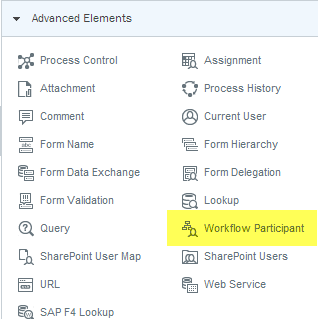
Add workflow participant elements
|
|
|
Add participant fields to the form
Now we will add text box elements to the Process Information part of the form.
- In the Form Canvas, click the Originator view.
- At the bottom of the form, click the Process Information group.
- In the Properties Pane, click Elements.
- Click Basic Elements, and then click Text Box.
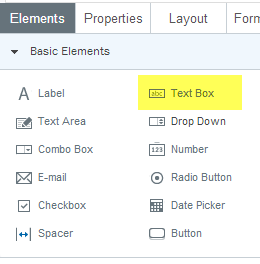
- Click Text Box again to add a second text box.
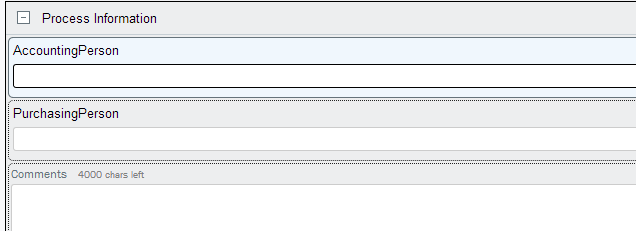
- In the Form Canvas, in the Process Information section:
- Click on Label (click to edit) (for the first newly added text box), and then rename the text box to AccountingPerson.
- Click on Label (click to edit), (for the second newly added text box), and then rename the text box to PurchasingPerson.
- Right-click the AccountingPerson text box, and then click Move Up.
- Right-click the PurchasingPerson text box, and then click Move Up.
The end result should look something like this:
Configure the workflow participants
|
|
|

Create a rule to automate selection
For the final part of this step, we will create a rule that automatically sets the value of the Accounting Person field based upon information in the Accounting Manager field.
- In the Form Canvas, below Process Information, click the AccountingPerson element.
- In the Properties pane, next to Rules, click [...] (the options button).

- In the Rules Editor screen, click Add, and then click Rule Wizard.
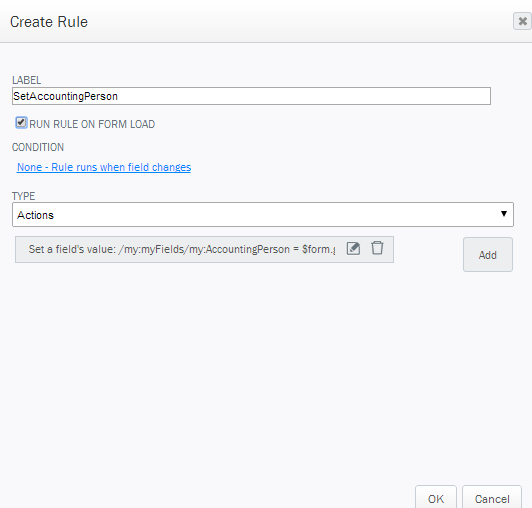
- On the Create Rule screen, set the following values (leave all others at default):
- Label: Type the label for the rule. For example, SetAccountingPerson.
- Check the box next to Run Rule On Form Load.
- Type: Click the arrow, and then select Actions from the menu.
- Below Type, click Add.
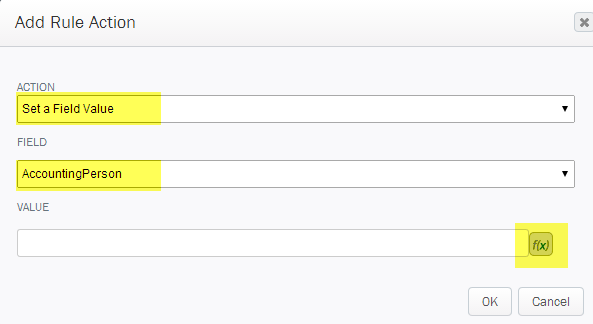
- On the Add Rule Action screen:
- Action: Click the arrow, and then select Set a Field Value from the menu. (Note: This should be the default setting.)
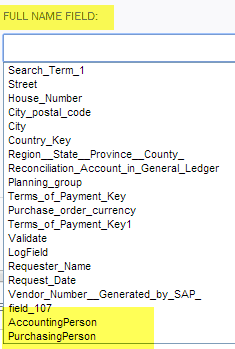
- Field: Click the arrow, and then select AccountingPerson from the menu.
- Value: Click the [F/x] (Formula)button.
- On the Insert Formula screen, click Insert External Data.
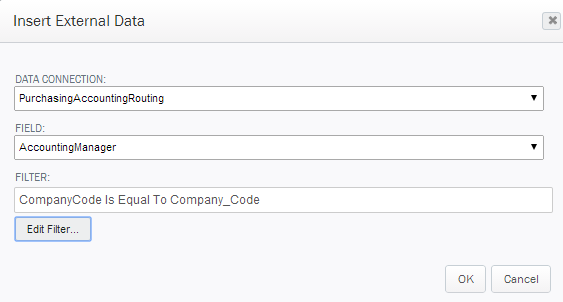
- On the Insert External Data screen:
- Data Connection: Click the arrow, and then select the data connection created at the beginning of this step (PurchasingAccountingRouting for this example) from the menu.
- Field: Click the arrow, and then select AccountingManager from the menu.
AccountingManager is the field from the SharePoint List created at the beginning of this step.
- Filter: Click Edit Filter.
- On the Filter Conditions screen, create a filter for "CompanyCode is Equal to Company_Code", and then click OK.
- Click OK.

- On the Add Rule Action screen, click OK.
- On the Create Rule screen, click OK.