Applies to:
- Winshuttle Foundation
1-4. Create a solution file
Back to
Steps in this phase
- Click the arrow to open the main menu, and then click New.
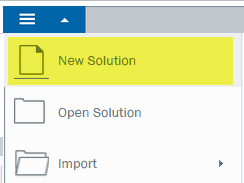
- Click Solution Wizard.
- In the New Solution Wizard dialog box, under Name, type a name for the solution.
- Under Forms Site, click the arrow to open the menu and select a SharePoint site where your forms will be located. If your Forms site does not appear in the list, type the URL for it (http://www.myformsite.com, for example).
- Under Central Site, type the URL to your Winshuttle Central site, or click the arrow and select your Winshuttle Central site from the list.
These steps are important. If you don't have a SharePoint site/Central site defined, many of the following steps will not work properly.
- Click Next.
Note: Swim Lanes, Data Connections, and Transaction/Query scripts can all be created later, so we don't need to specify them now.
- On the Add Swim Lanes screen, click Next.
- On the Add Data Connections screen, click Next.
- On the Add Transaction/Query Scripts, click Add.
- Select File, and then click Choose File.
Browse to the transaction file created in Step 1-1: Record SAP Vendor Master transaction (XK01).
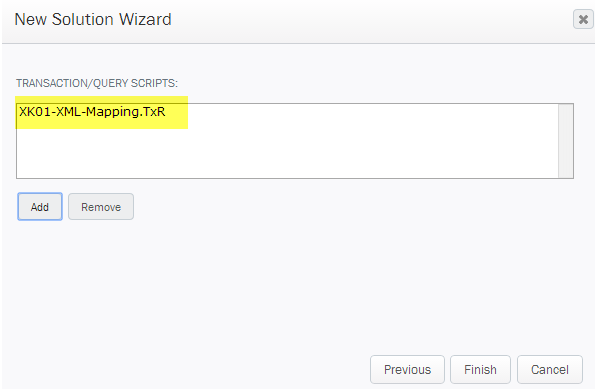
- Click Next.
- On the Field Mapping screen, type a description ("Vendor Master Tutorial" for example).
- Under Group Name, type a group name. Click Next.
- Click Finish.
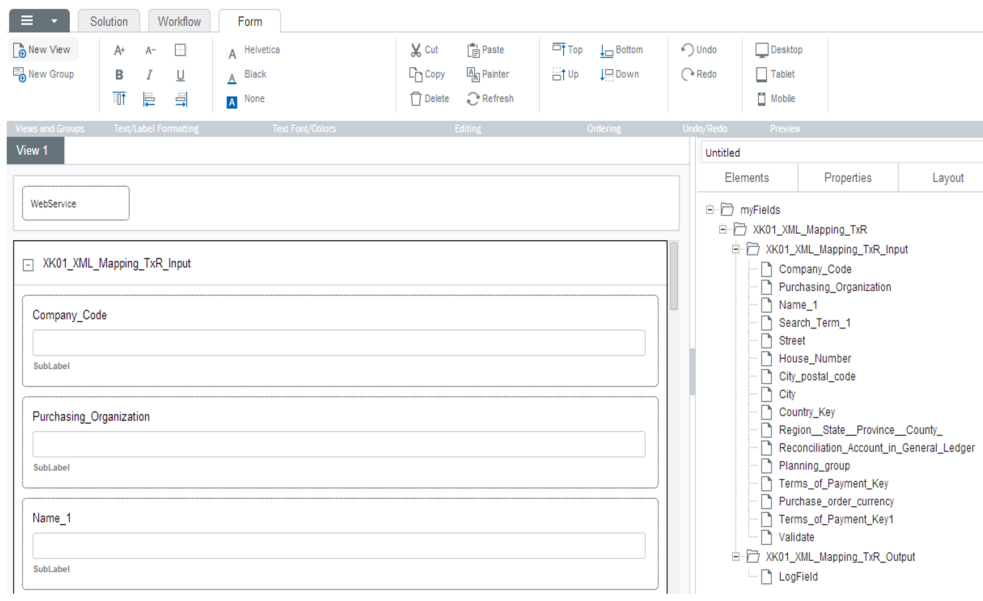
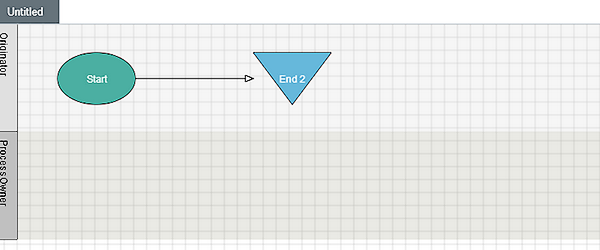
After the script is imported, Winshuttle Composer will automatically create a basic form and basic workflow, shown below.
Basic Winshuttle Composer workflow created by importing the Winshuttle Transaction script:
Winshuttle Composer basic form created by importing the Winshuttle Transaction script: