Step 2: Install Winshuttle Server Manager
Back to
Server 10.5/10.6 installation
- Install Erlang and RabbitMQ
- Install Winshuttle Server Manager
- Install the Queue Manager
- Modify the Web.Config file
- Install Server Worker
- (Optional): Configure Winshuttle Central for Server Autopost
Related topics
NOTE:
- For Winshuttle Server 10.6 and earlier, the default database is SQLite. (SQLite is a file based database that resides in C:\Program Files\Winshuttle\Server\Manager\App_Data by default.)
- If you want to change the Database option, see the Server Database section of the Winshuttle Server Admin Tool Guide.
The following installation process applies to Windows Server 2008 (R2).
Note: Screenshots shown on this and subsequent pages are representative of a sample environment. Do not use the values that are shown in these screenshots in your environment.
Winshuttle Server Manager and Worker can both be installed on the same machine, but we recommend installing them on different machines. In the event of heavy load of requests, having both installed on the same machine may not perform as well as they would installed on separate machines. For testing purposes however, both Manager and Worker can be installed on a single server. If using this for testing or development purposes both components are required.
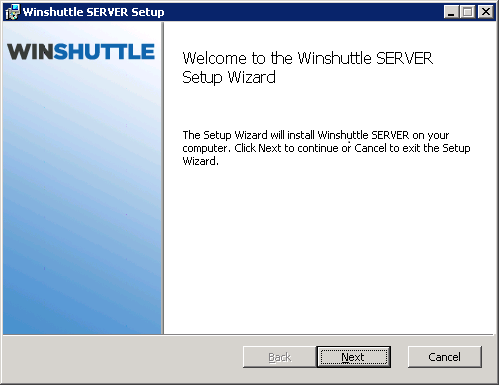
- Open a command prompt with administrator privileges, and run WinshuttleServer.msi to run the Winshuttle Server Installer. Click Next to continue. (Note: The installer must be run from a command line).
- Accept the License Agreement, and then click Next.
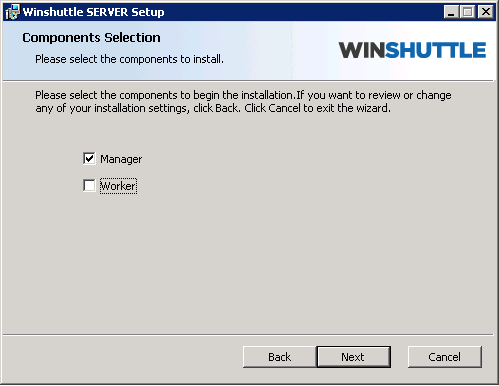
- Click Manager to install the Manager on the machine, and then click Next.
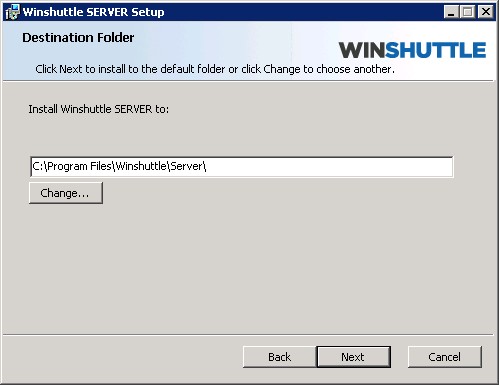
- Click Next to install Winshuttle Server Manager in the default location, or click Change to specify a different installation folder.
- Enter the TCP Port you want Winshuttle Server to use.
NOTE: If you plan to use SSL (Secure Socket Layer), make sure the TCP port is assigned to your SSL certificate.
- In the Application Pool Identity drop menu, select the IIS Service Account to run the application pool. If you are using a Specific User account (i.e. a network user), enter their user name and password in the appropriate fields. (Note that using a network user account is less secure than using an IIS Service Account.) Click Next.
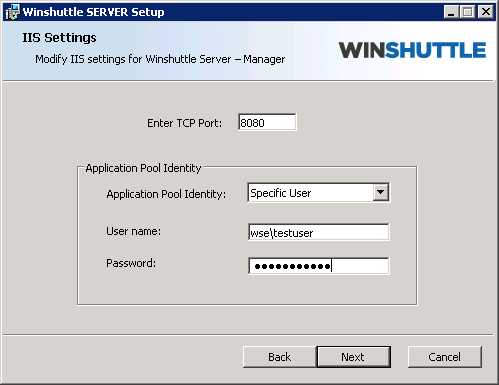
Note: The user you set here would be the identity that will access the Winshuttle Server database when Winshuttle Server is up and running. If you have selected Windows Authentication, then it is application pool identity of Manager, that will access the Winshuttle Server database.
- Click Install.
- After the installation finishes click Finish to exit the installer.
Verifying a successful installation
Back to topUse the following procedure to verify a successful Winshuttle Server Manager installation.
- Open IIS and browse to <Server name> Sites.
- Click WinshuttleServer to expand it.
- Right-click WinshuttleServer, and then click Switch to Content View.
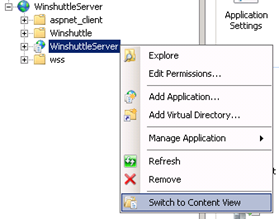
- Right-click on any service with a .SVC extension (AutoPostservice.svc, for example) and then click Browse.
- The web application URL is the Manager URL. For example, in the screenshot below the Manager URL is:
http://<servername>:8080/WinshuttleServer
