Applies to:
- Winshuttle Foundation
2-2. Add requester name with Current User control
Back to
Steps in this phase
In this step we will configure the Requester Information section of the form, as well as the text box and Request Date field.

- Add a section to the form called Requester Information.
- Add the following fields to the Requester Information section:
- RequesterName (a Text Box element)
- RequestDate (a Text Box)
- Make each of the fields above Read Only.
Adding the Requester Information group
If you haven't already created a Requester Information Group, create that group now and add it to your form.
- On the Composer ribbon, click the Form tab.
- Click New Group. The group will be added in the Canvas.
- In the Properties Pane, set the following properties:
- Label: Click in the field and then type Requester Information.
- Columns: Click the arrow, and then select 2 from the list.
- In the Form Canvas, in the the newly added group, click Group Label (click to edit) and rename it to Requester Information.
- Right-click the Requester Information group, and use the Move Up option to position the group at the top of the form (just under the New Vendor Request section).
Create the Requester Information fields
- In the Form Canvas, click the Requester Information group.
- In the Form Canvas, in the Properties pane, click Elements.
- Under Basic Elements, click an element to add it to the Requester Information section. Click TextBox twice.
- Click each newly added text box element, and rename it to Requester Information and Request Date, respectively.

Add the Current User element
Now add the CurrentUser element to the form. The CurrentUser element is an invisible control that can be used to copy the name of the currently logged on user and other information into the Composer form.
To add the control:
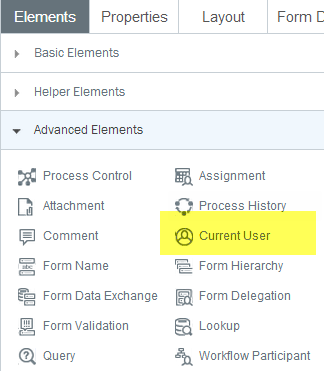
- In the Properties pane, click Elements.
- Click Advanced Elements.
- Drag the Current User element to the form.

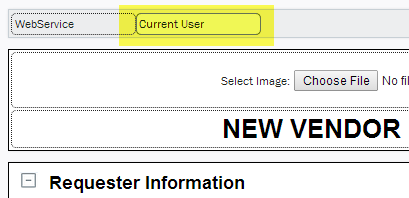
- You should see the Current User control appear at the top of your form like this:

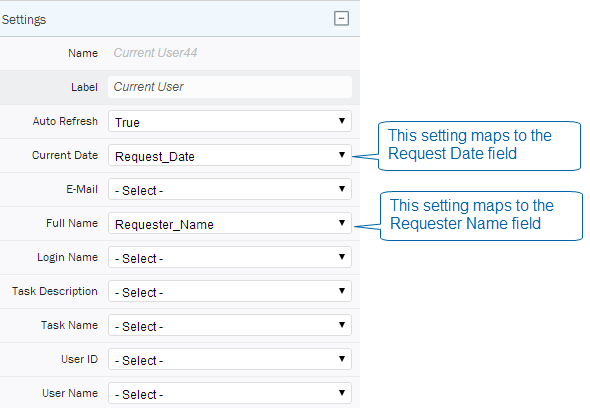
- Click the Current User control, and then configure its properties in the Properties Pane. An example is shown below, but note that you would need to configure these properties appropriate to your own environment and your form.

Current User control properties example