Applies to:
- Winshuttle Foundation
3-1. Add form views
Back to
Steps in this phase
For this phase we want to add multiple views to the form.
The goal is to split up the form into multiple views:
- OrignatorView
- AccountingView
- PurchasingView
- MasterDataView
These views will have differing levels of interactivity with different sections of the form. For example:
|
Create MasterDataView
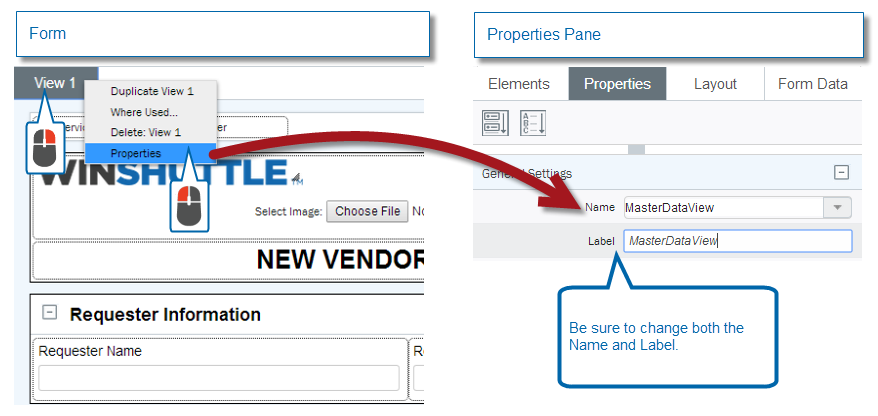
First, to create the MasterDataView, you can just rename your current view (View1) to MasterDataView.
Note: Do not use spaces in the Name field. There can only be letters, numbers, or underscore ( _ ) characters.
- In the Form, right-click View1, and then click Properties.
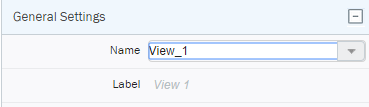
- In the Properties pane under General Settings:
- Next to Name, click the field and then rename View 1 to MasterDataView.
- Next to Label, click the field and then rename View 1 to MasterDataView.
Duplicate fields across multiple views
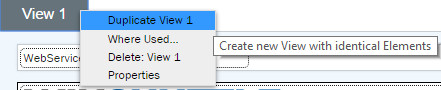
Once you have a single view and a basic form built, you will want to copy the form in the first view to the other views.
- On the list of Views, right-click the View to duplicate.
- Click Duplicate View.
- Repeat the process for each view you want to create (for this tutorial we are using 4 views: OrignatorView, AccountingView, PurchasingView, and MasterDataView).
Rename the Views
- On the list of Views, right-click a View, and then click Properties.
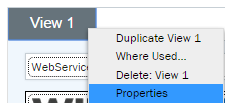
- In the Properties pane, next to Name, type a new name for the view.
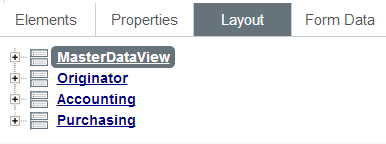
The goal (for this example) is to create 4 views, as shown below (in the Properties pane on the Layout tab).
Make the Requester and Vendor Information read-only
We want to make the Requester and Vendor Information read-only for everyone except the Originator. We'll also use a rule to color the field gray (a common indicator for a read-only field).
To set a field to read-only:
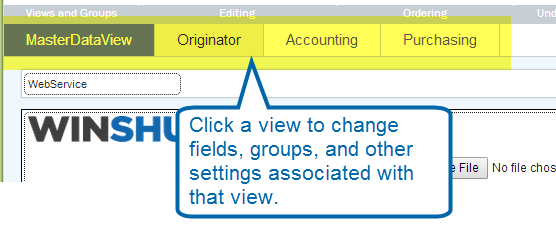
- On the Form Canvas, click the form view you want to make changes to.
- Click the field or group you wish to change. For this example, click the Requester Information group.
- In the Properties pane, under General Settings, next to Read Only, click the drop arrow and select True from the menu.
- You will be prompted to apply the changes to ALL views or just the current view. Click No, this view only.
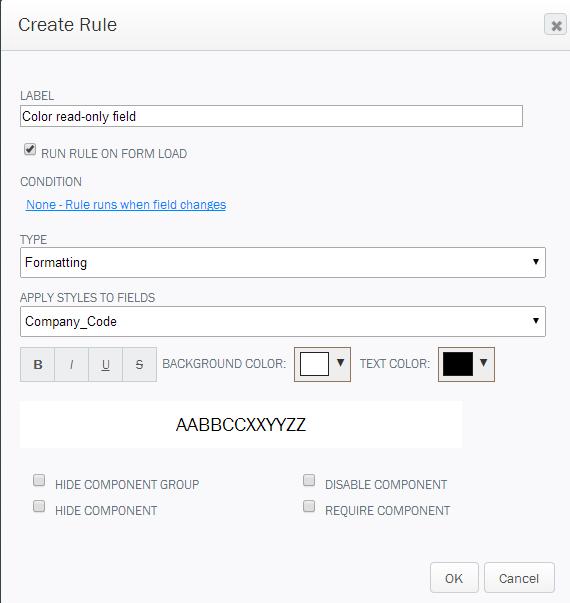
Tip: Now we'll create a rule to color a field gray to indicate that it is read-only.
- Right-click the field, and then click Edit Rules.
- Click Add, and then click Rule Wizard.
- Type a label for the rule, and set the Type to Formatting (see below for an example).
- Next to Background Color, click the drop arrow, and select the color gray from the menu.
- Click OK.